
Mosaic Floor Tile Installation — Orléans
Complex mosaic pattern tile work in an Orléans home — precise layout planning, tight grout joints, and every sheet aligned to produce a symmetrical, balanced result.
Project Overview
Mosaic tile installations are among the most technically demanding floor tile projects because the individual tile pieces are small, the grout joints are tight and numerous, and the pattern must be planned and executed precisely from start to finish. Any deviation in the layout reference compounds across dozens of small tiles and becomes clearly visible in the finished result. There is no correcting course halfway through — the planning has to be right before the first sheet goes down.
This project in Orléans involved a complex mosaic pattern across a residential floor area, with a decorative border element that required separate layout planning to integrate cleanly with the field tile. The homeowner had selected a pattern they'd researched carefully, and the expectation — entirely reasonable — was that the finished floor would look exactly like the reference image they'd provided. Meeting that expectation required working methodically from the first measurement to the final grout clean.
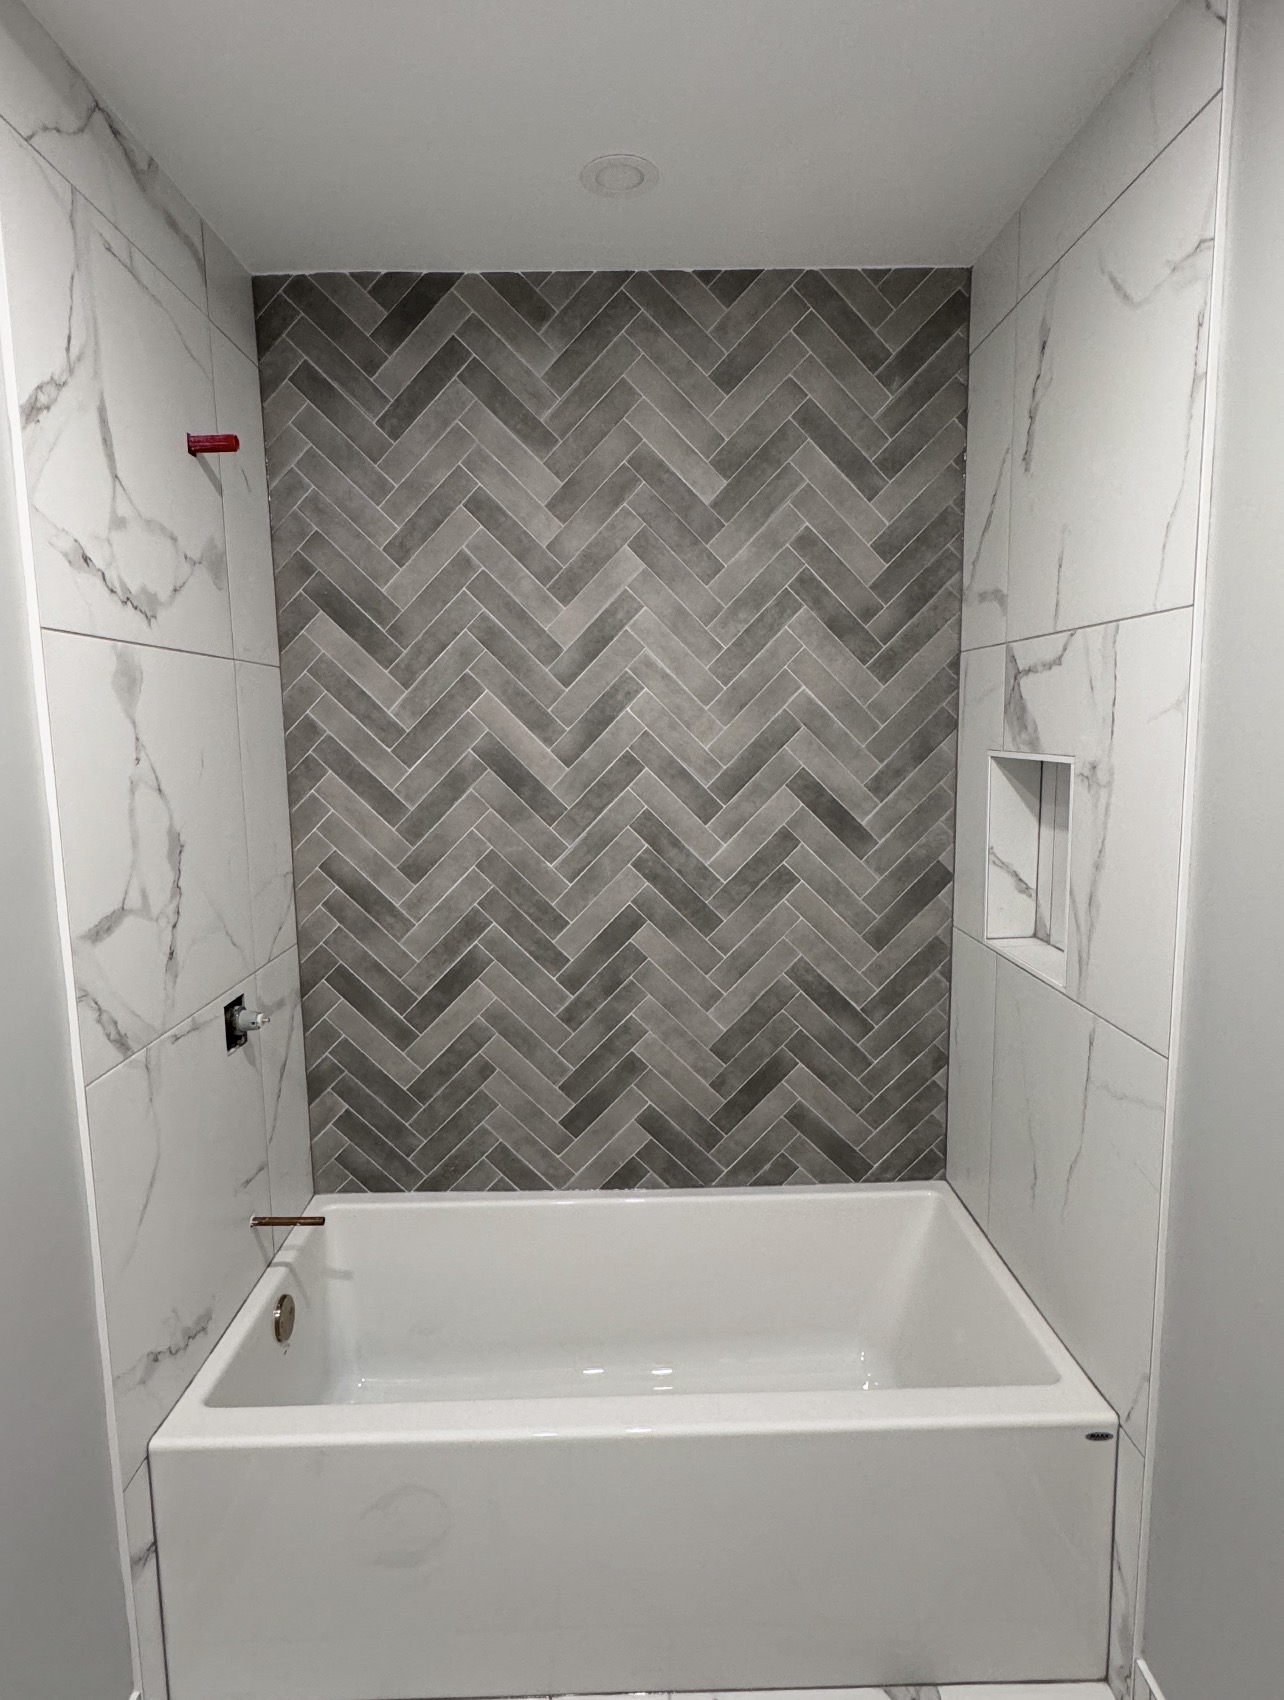
The Challenge: Pattern Alignment at Small Scale
Mosaic tile sheets are typically sold in 12×12 inch mesh-backed sheets, each containing many individual tiles. The pattern is created by the arrangement of those tiles across many sheets. For the pattern to read correctly, the sheets must align precisely with each other — the grout joints between sheets must match the grout joints within each sheet, and the pattern must continue uninterrupted from sheet to sheet.
This is harder than it sounds. Individual mosaic sheets are not perfectly uniform — there is slight variation in the spacing of the tiles within a sheet, and variation in the overall dimensions of the sheet itself. Simply butting sheets together produces joint widths that vary noticeably at the seams. The solution is to verify sheet-to-sheet alignment as each row is set, adjusting spacing slightly where needed to keep the pattern continuous.
The tight grout joints in mosaic work — often 1/16" or less — also require the substrate to be genuinely flat. With a narrow joint, there is no room for a tile to tip slightly to one side to accommodate a high or low spot in the substrate beneath. Even small substrate variation causes visible variation in the joint width, which disrupts the pattern's regularity. The substrate had to be prepared to a higher standard than would be required for a larger-format tile with wider joints.
Layout Planning
The layout started with the border. The decorative border tiles defined the perimeter of the pattern area and established the frame within which the field mosaic had to fit. The border position was calculated first — centered on the room's main axis — and reference lines were snapped to mark its inside edge. The field mosaic layout was then planned from the center of the field area outward, ensuring the pattern would be centered and that cut sheets at the border would be equal on opposite sides.
A full dry layout of several sheets was done before any mortar was mixed. This dry run confirmed that the pattern alignment was correct from sheet to sheet and that the planned starting point would produce balanced cut sheets at the border on all sides. Adjustments were made at this stage, not after mortar was applied.
The center reference point — the intersection of two perpendicular reference lines in the center of the field — was marked permanently and used as the anchor for all measurements throughout the installation. Every sheet position was measured from this fixed reference rather than from the previous sheet, which prevents accumulated layout drift across a large area.
Substrate Preparation and Tile Setting
The substrate was prepared with a polymer-modified floor-leveling compound to achieve the flatness tolerance required for tight mosaic joints. The compound was applied, allowed to cure, and verified with a straightedge before installation began.
Tile was set in small sections to keep the mortar open — mosaic sheets have high tile-to-mortar-contact ratios and the mortar must be fresh when each sheet is pressed. Each sheet was positioned carefully against the reference measurements, pressed firmly and evenly across its entire surface with a grout float, and checked with a straightedge to confirm it was level with the adjacent sheets. Any sheet that was not level was pulled and reset before the mortar could skin over.
The border tiles, being a different format from the field mosaic, were set separately after the field tile was in place. The joint between the border and the field was maintained consistently to match the field grout joint width, so the transition from mosaic to border reads as intentional and clean rather than as an afterthought.
Grout was applied with a rubber grout float worked diagonally across the tile surface to pack all joints fully. Excess grout was cleaned with a damp sponge in multiple passes, taking care not to pull grout out of the joints during cleaning. Final haze removal was done with a clean, dry cloth after the grout had partially cured.
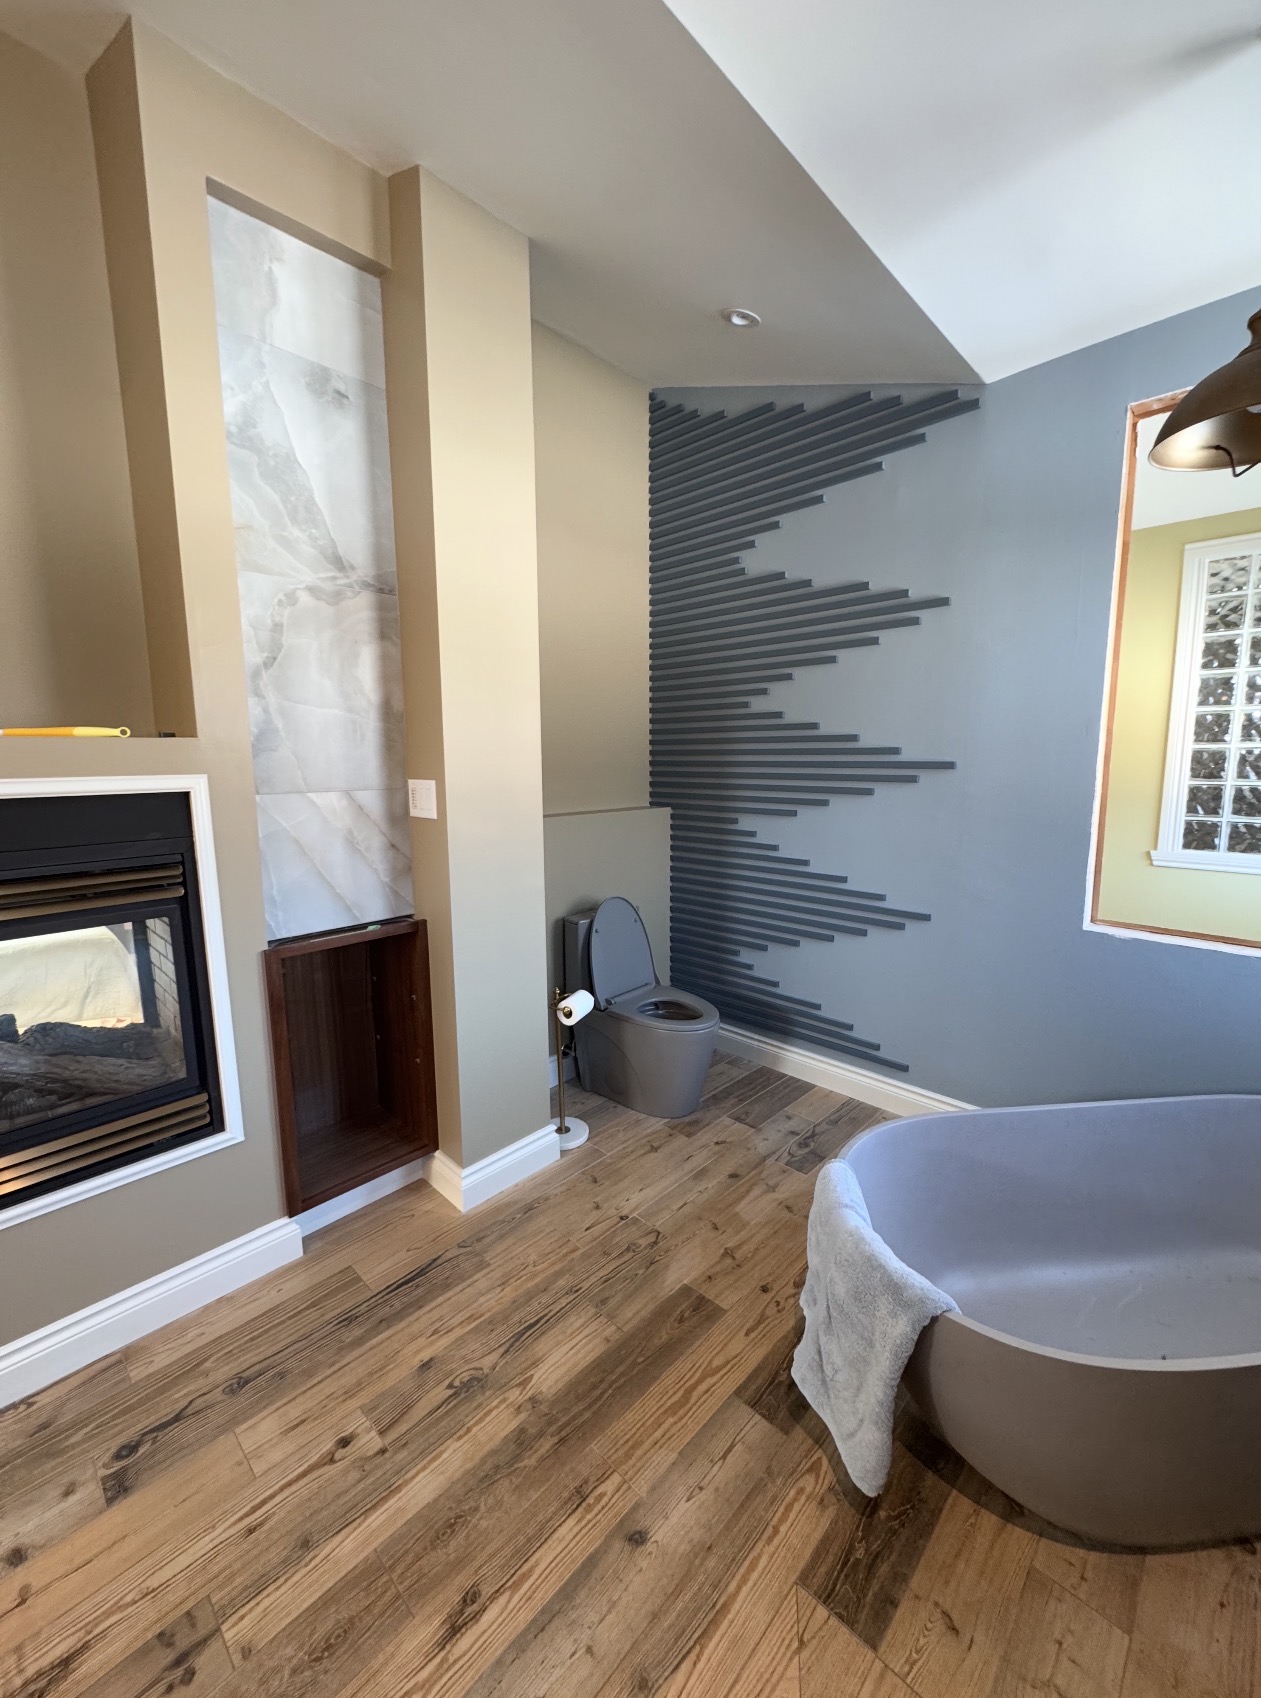
Finished Result
The completed mosaic floor matches the pattern reference the homeowner provided. The grout joints are consistent throughout, the sheet-to-sheet seams are not visible, and the border integrates cleanly with the field tile on all sides. The pattern is centered and the cut pieces at the border are balanced.
Mosaic installations reward patience and systematic work. Each phase — layout planning, substrate preparation, dry layout verification, tile setting, and grouting — has to be done correctly before the next phase begins. There are no shortcuts that produce a good result. The floor in this Orléans home is the outcome of working through each phase without skipping steps.
Planning a Mosaic or Pattern Tile Floor in Orléans?
Complex tile work is what Orleans Flooring Co. does — call Joseph to discuss your project and get a written quote.