
Vinyl Plank Flooring Installation — Orléans
A full residential LVP installation in Orléans — starting with an uneven subfloor that needed significant prep work before a single plank went down.
Project Overview
This Orléans home needed a full main-floor flooring replacement. The existing flooring had been removed before the project started, leaving the subfloor exposed and ready for assessment. At first glance the subfloor looked reasonable, but a straightedge check across multiple directions told a different story — there were high spots and low spots well outside the 3/16" in 10-foot tolerance required for a proper LVP floating installation.
Getting the floor flat before installation is not an optional step with luxury vinyl plank. LVP is rigid compared to older vinyl sheet products, and it bridges high spots without conforming to them. Over time, a plank bridging a high point takes all the foot traffic load at that point and can crack, or the locking joints at that location can work loose. Low spots cause a different problem — the floor flexes slightly underfoot, the locking joints see repeated stress, and clicks and squeaks develop. Proper prep eliminates both failure modes before they can start.
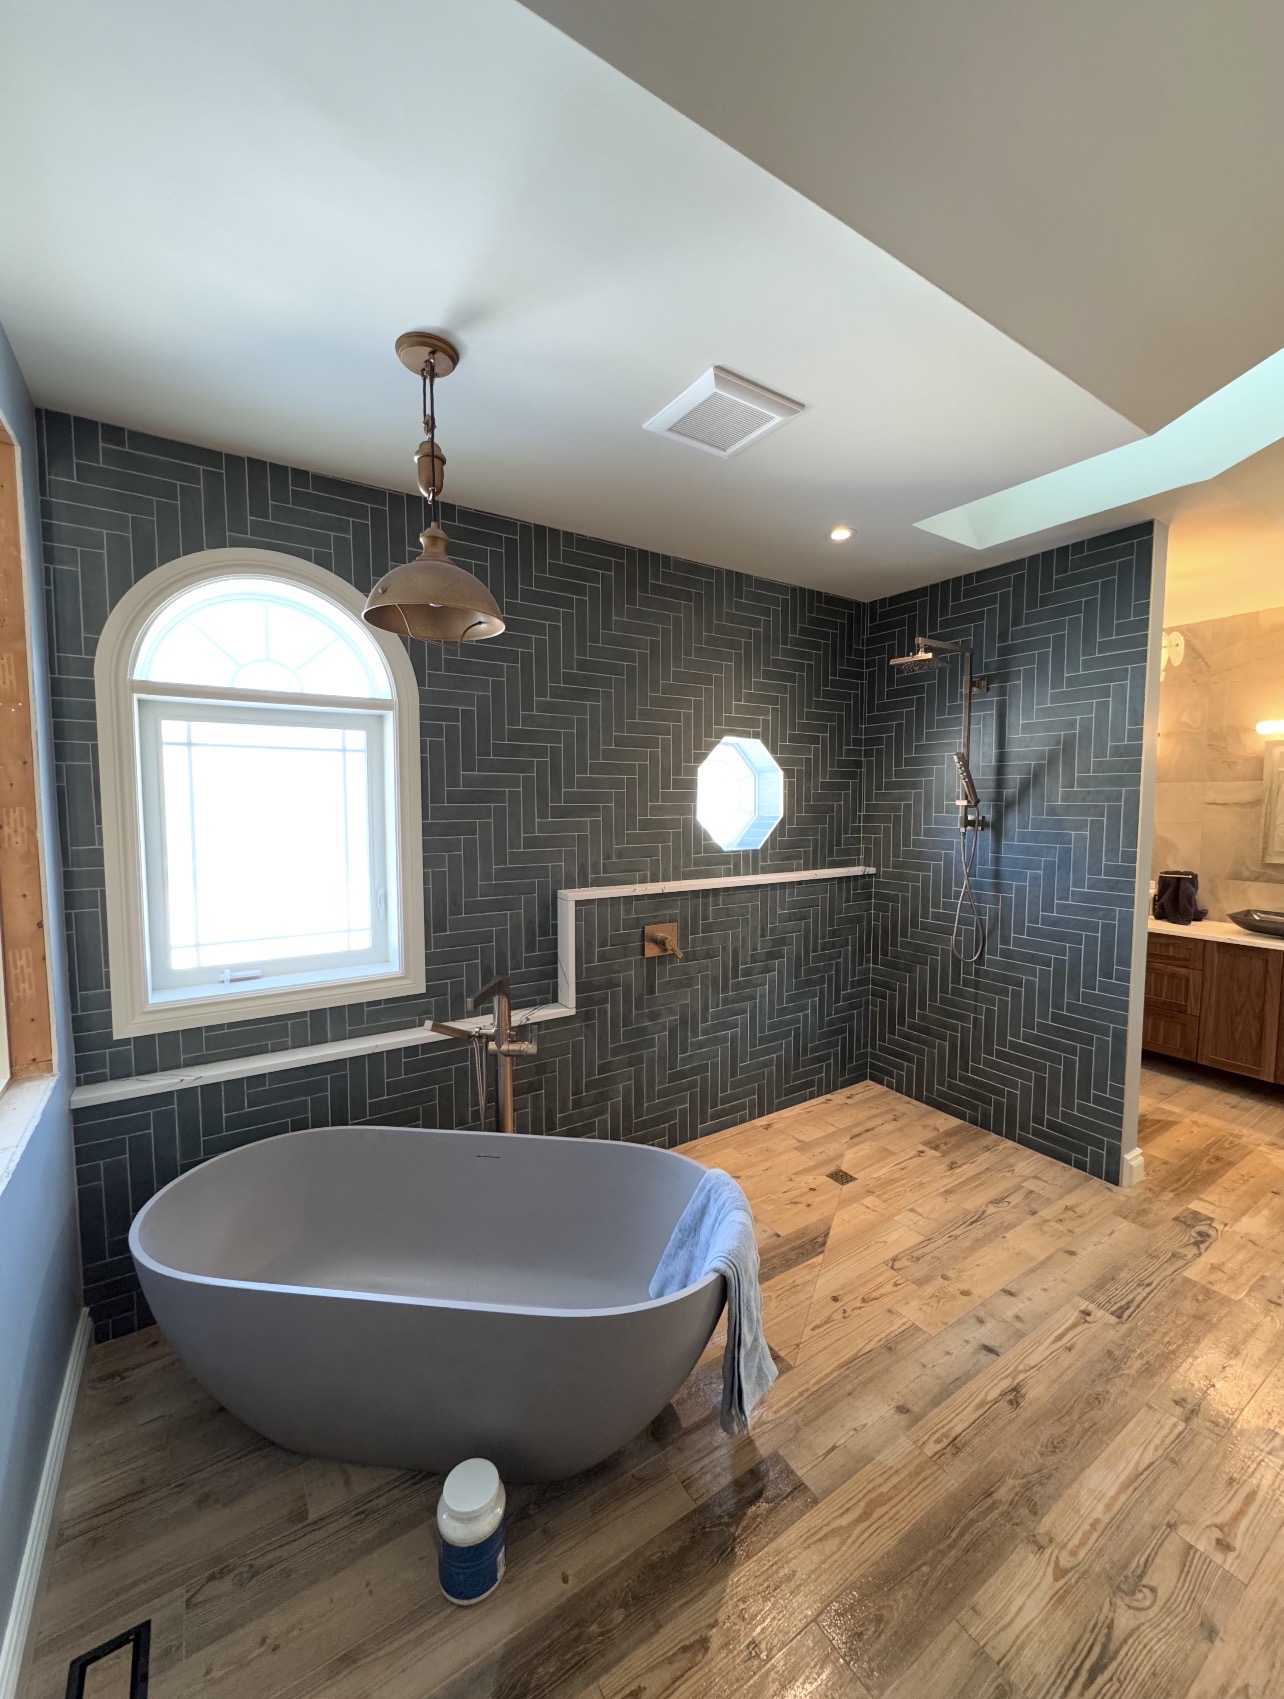
The Challenge: An Uneven Subfloor
The subfloor in this home was a combination of plywood panels that had shifted slightly over time, along with a low area near the kitchen that was likely the result of a slow, long-past moisture event that had caused the panel to sag between joists. The high spots were concentrated near the edges of panels — a common pattern in older homes where fasteners have backed out and the panel edges have ridden up slightly.
A 10-foot straightedge check in multiple directions across the main floor revealed variations of up to 5/8" in some areas — far outside the acceptable range. The flatness requirement for LVP floating installation is typically 3/16" over a 10-foot span (some manufacturers specify 1/8" over 6 feet — always check the product's installation instructions). At 5/8", installing without correction would guarantee problems.
The project couldn't proceed until the subfloor was flat. This is a conversation that needs to happen up front, not halfway through an installation day — and it's why Orleans Flooring Co. does a proper assessment before any materials are ordered or scheduled.
Subfloor Preparation
The prep work on this project involved three phases:
1. Grinding High Spots
High spots — primarily at panel edges and around old fastener locations — were addressed with a diamond-cup grinder. The grinder cuts down the high material without damaging the surrounding subfloor surface. This is faster and more precise than trying to feather floor-leveling compound over a high spot, which rarely produces a flat result and adds unnecessary material thickness. Each high spot was ground, rechecked with the straightedge, and ground again until it was within tolerance.
2. Filling Low Spots
Low spots were filled with a Portland cement-based, self-leveling floor-leveling compound. The compound was mixed to a pourable consistency and applied with a gauge rake to control depth. It was feathered out gradually at the edges so there would be no abrupt transition. The compound was left to cure fully — rushing this step causes the compound to be softer than it should be and can create problems with adhesion later.
3. Flatness Verification
Once the compound had cured, the entire floor was walked with the straightedge again in multiple directions. Any remaining high or low spots outside tolerance were addressed before installation began. This verification step is not skipped — it's the only way to be certain the work is done correctly.
Materials Used
- Waterproof luxury vinyl plank with attached underlayment
- Supplemental acoustic underlayment in areas requiring additional sound control
- Schluter RENO-T and RENO-TK transition profiles at doorways and room changes
- Portland cement-based floor-leveling compound for low spots
- Foam expansion spacers at all walls and fixed objects
The LVP product selected for this project was a waterproof click-lock plank with an attached underlayment. In areas where the homeowner requested additional sound attenuation — particularly above a basement room — supplemental underlayment was added beneath the plank. Not all underlayment products are compatible with all LVP — the manufacturer's specifications were checked to confirm compatibility before ordering.
Installation Details
Layout was planned before the first plank went down. The goal was to avoid narrow cut pieces at the walls — a row less than half a plank wide looks unfinished and is weaker structurally. The starting row width was calculated and adjusted so that both the first and last rows were at least half-width, keeping the pattern balanced and symmetrical.
The planks were installed parallel to the longest wall and the primary light source, which makes the floor read as a continuous surface rather than drawing attention to the seams between planks. Each row was staggered a minimum of 6 inches from the previous row's end joints — short staggering is a common shortcut that creates a visual pattern break and concentrates stress at joint locations.
Expansion gaps of 1/4" minimum were maintained at all walls, cabinets, door frames, and any fixed vertical surface. LVP expands and contracts with temperature changes, and without adequate gap, the floor can buckle in summer or pull apart at joints in winter. All expansion gaps were covered by reinstalled baseboards or Schluter transition profiles at doorways.
Transitions between the LVP and adjacent flooring surfaces — including tile at the bathroom threshold and existing flooring in an adjoining space — were finished with Schluter RENO-TK profiles, which provide a clean, flush edge and protect the LVP plank ends from chipping.
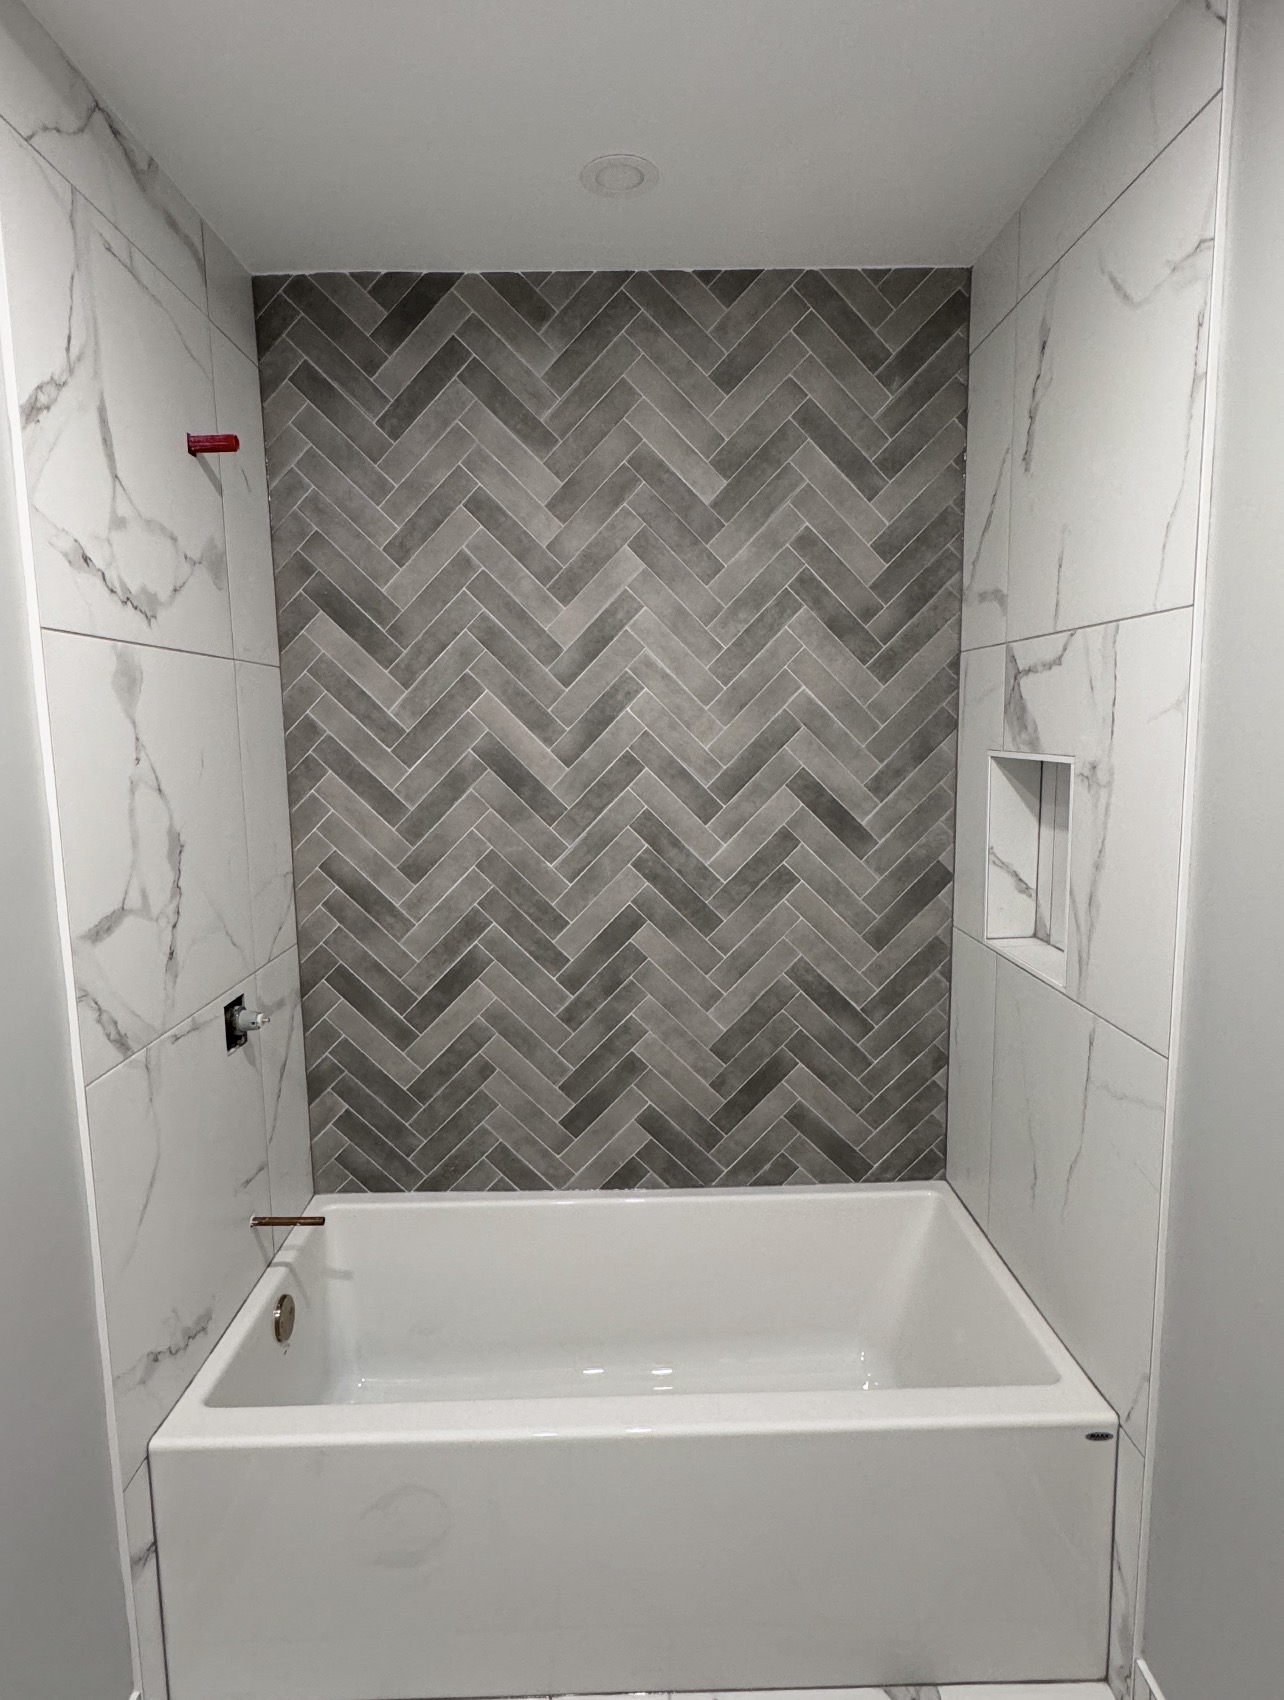
Finished Result
The completed installation is solid underfoot with no flex, no clicking, and no visible lippage between planks. The transitions at doorways are flush and clean. The layout reads as balanced — no narrow slivers at the walls, no attention drawn to the seams.
More importantly, the floor is built correctly. The prep work done on the subfloor means the locking joints are not under stress from bridging or flexing. Barring physical damage, this floor will not develop the clicks, squeaks, or joint failures that come from shortcuts taken at the subfloor stage.
If you're planning an LVP installation in Orléans and want it done the same way, call Joseph at 613-981-8903 or fill out the quote form below.
Request a Quote for Your Orléans Flooring Project
Joseph will assess your subfloor, explain what prep is needed, and give you a clear written quote — no surprises.