
Bathroom Floor Tile Installation — Ottawa
A herringbone porcelain tile floor in a compact Ottawa bathroom — waterproofed with Schluter Kerdi membrane and set on a properly prepared, flat substrate.
Project Overview
This bathroom floor tile project in Ottawa presented three distinct challenges that each required a specific solution: a compact room where pattern alignment is unforgiving, a herringbone layout that demands very precise cuts, and a wet area that needed proper waterproofing before any tile went down. None of these are problems — they're just the conditions of the job, and each one has a correct approach.
Herringbone tile patterns are visually striking, but they amplify any errors in layout or substrate flatness far more than a standard grid or offset pattern. Slightly uneven grout joints or a wandering reference line are obvious in herringbone where they might go unnoticed in a straight lay. The layout had to be planned carefully and the substrate had to be flat enough to support tight, even joints throughout.
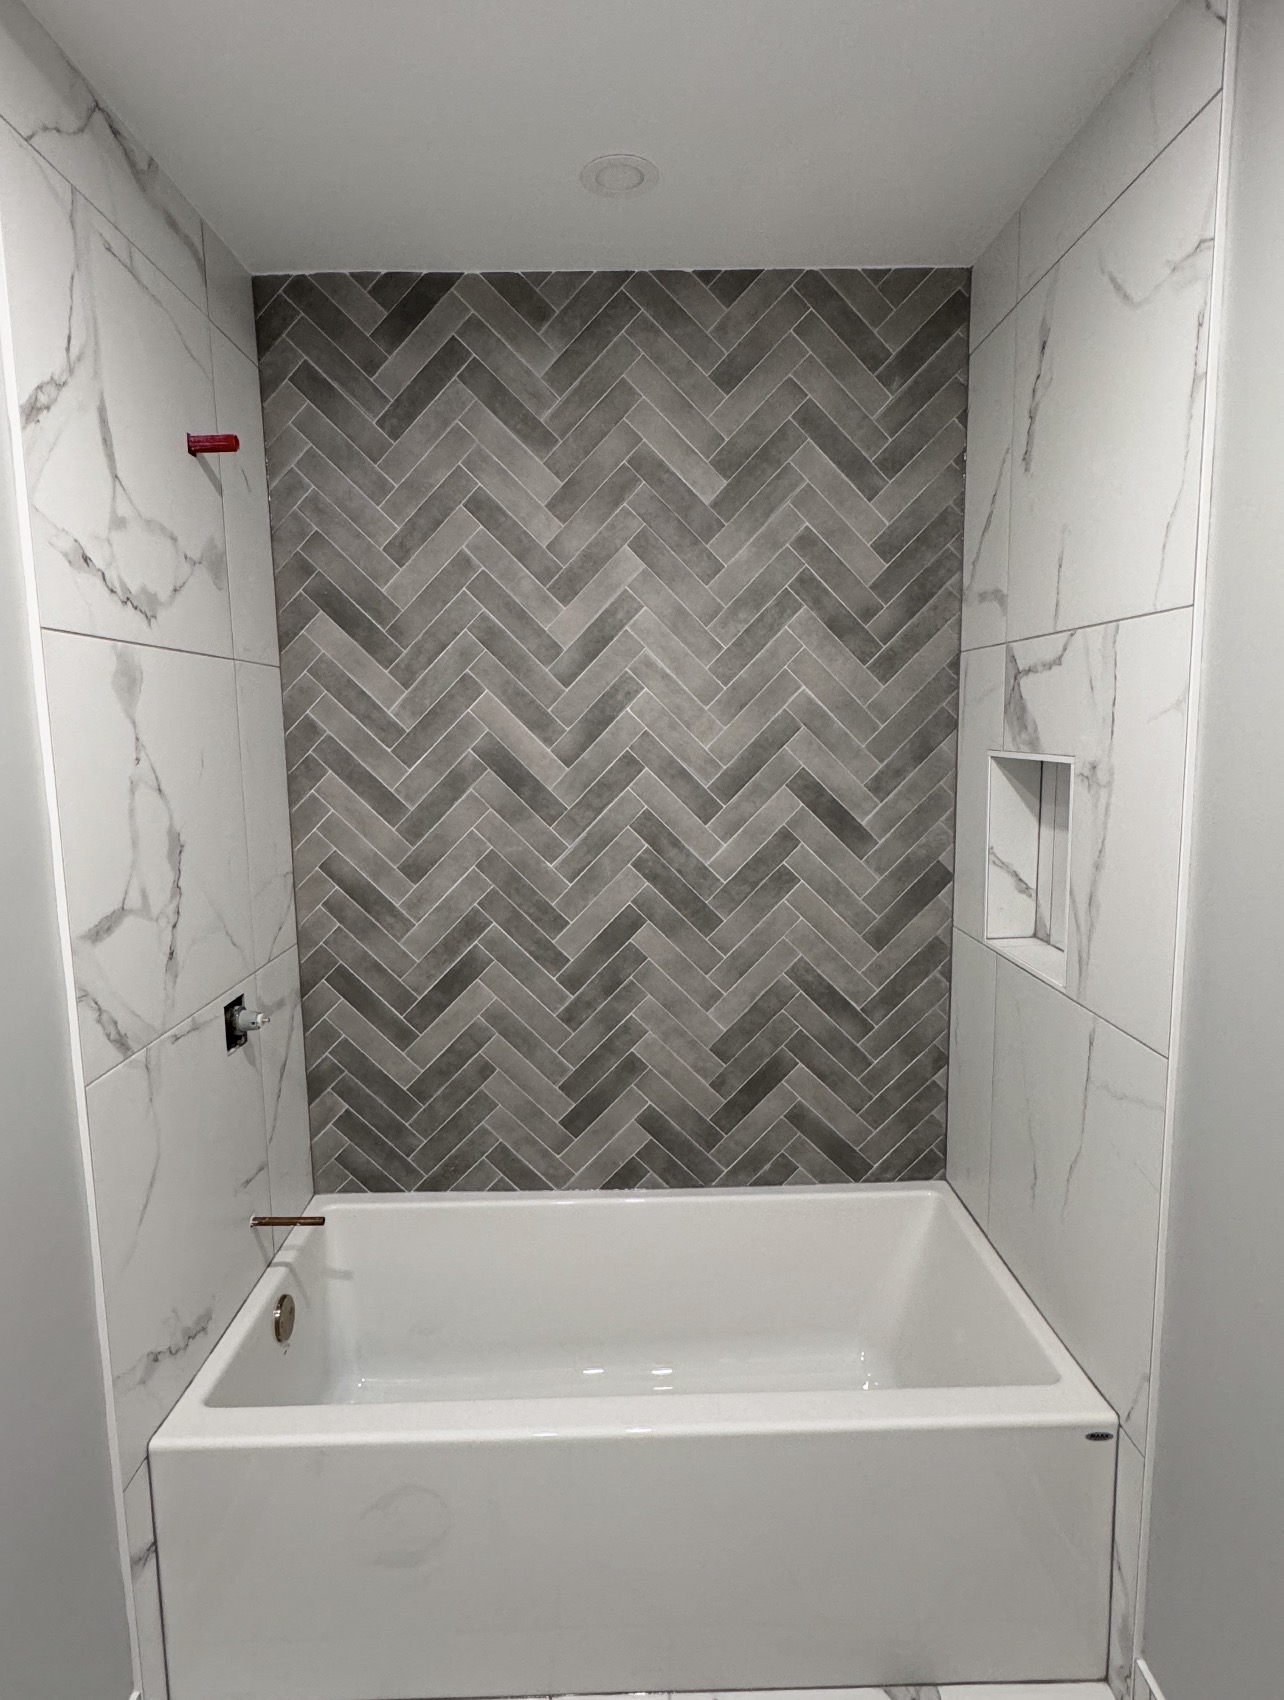
The Challenge: Small Space, Demanding Pattern, Wet Area
Small bathrooms leave very little margin for layout errors. In a large open room, a slightly off-center starting point can be corrected gradually over many rows without anyone noticing. In a bathroom measuring a few feet in each direction, an off-center start is immediately visible — the cut pieces at the walls on either side are noticeably different widths, and the pattern doesn't read as symmetrical.
The herringbone pattern adds another layer of complexity. Each tile must be set at a precise 45-degree angle to the reference line, and the joints between adjacent tiles must stay consistent. A herringbone pattern with inconsistent joint widths looks immediately wrong to the eye, even if the viewer can't identify exactly what's off. Maintaining joint consistency requires both a flat substrate and careful, measured placement of each tile.
The wet area requirement is non-negotiable. Bathroom floors see regular water exposure, and the substrate beneath a tile installation must be waterproofed or the water will eventually reach the wood framing below. A failed bathroom floor tile installation — one that was set without proper waterproofing — can cause structural damage that costs far more to repair than the original tile job.
Preparation: Waterproofing and Substrate
Schluter Kerdi Waterproofing Membrane
The substrate was prepared with Schluter Kerdi sheet membrane — a thin, bonded waterproofing membrane that bonds directly to the existing substrate and provides a continuous waterproof layer beneath the tile and mortar. Kerdi is set into a layer of unmodified thinset mortar and lapped at seams, with Kerdi-Band applied at all transitions between floor and wall surfaces. The drain was fitted with a Kerdi drain plate that integrates directly into the membrane system, eliminating a common failure point where tile meets drain.
Kerdi was selected over cement backer board for this project because it provides a true waterproof barrier rather than simply a moisture-resistant substrate. Cement backer board resists moisture but does not waterproof — water can still pass through and reach the framing if the tile or grout develops cracks over time.
Substrate Flatness
Once the membrane was set and cured, the substrate flatness was checked. The porcelain tile selected for this project was a smaller format that tolerates slightly more substrate variation than large-format tile, but herringbone pattern placement still requires a genuinely flat surface to maintain consistent joint widths. Any variations outside 1/8" in 10 feet were filled before tiling began.
Materials Used
- Porcelain tile — set in herringbone pattern
- Schluter Kerdi sheet waterproofing membrane
- Schluter Kerdi-Band for floor-to-wall transitions
- Schluter Kerdi-Drain plate
- Unmodified thinset mortar for membrane installation
- Polymer-modified thinset mortar for tile setting
- Unsanded grout with tight joint widths
- Schluter RENO-TK threshold profile at doorway
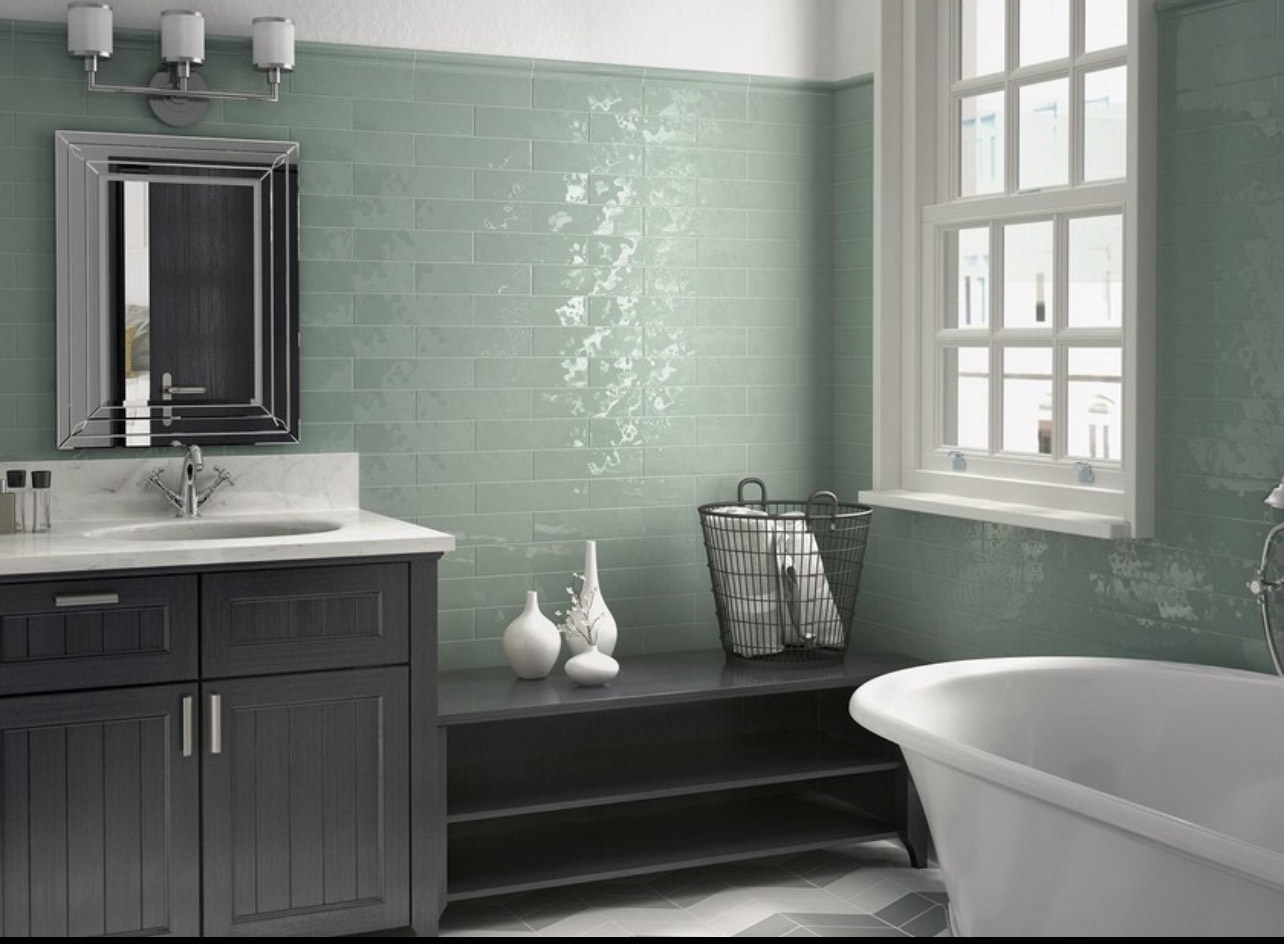
Installation: Layout and Tile Setting
The herringbone layout was planned from the center of the room outward. Reference lines were snapped at 90 degrees to each other and then at 45 degrees to establish the tile angle. A dry layout was done with several tiles before any mortar was mixed — this confirmed that the starting point would result in balanced, visually acceptable cut pieces at all four walls.
Tile was set in sections, working away from the center reference and keeping the wet mortar area small enough to be covered before skinning. Each tile was pressed firmly into the mortar with a slight twisting motion to ensure full coverage — thin, incomplete mortar coverage beneath a floor tile creates hollow spots that allow the tile to flex slightly underfoot, which eventually cracks the grout and can crack the tile itself.
Grout joint spacing was maintained with tile spacers throughout. Unsanded grout was used for the tight joint widths in this project — sanded grout in narrow joints can scratch polished porcelain surfaces and can be difficult to pack tightly enough to resist cracking. The grout was mixed to the correct consistency and worked thoroughly into each joint, then cleaned before haze could set.
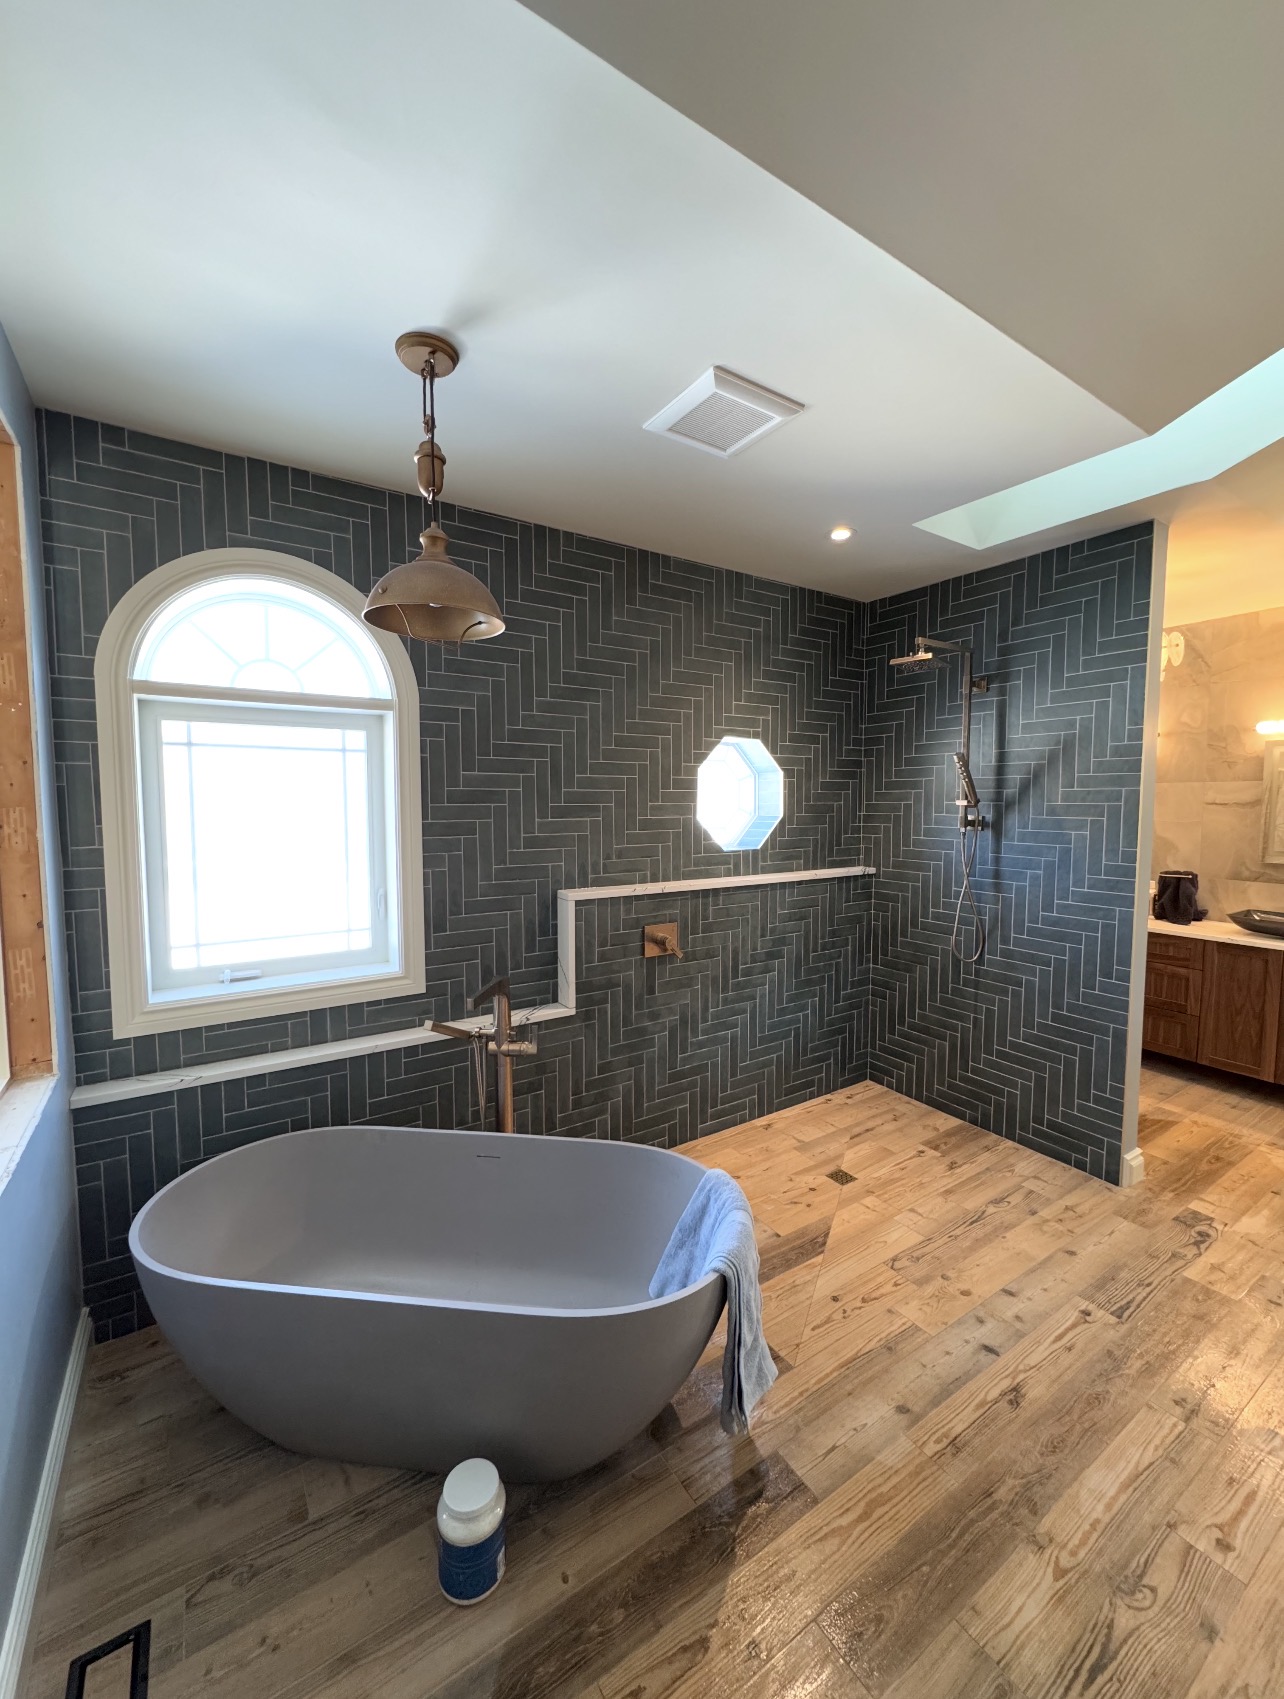
Finished Result
The completed bathroom floor is fully waterproofed, flat, and finished with even grout joints throughout the herringbone pattern. The cut pieces at the walls are balanced on opposite sides. The threshold transition to the hallway flooring is clean and flush.
The waterproofing layer underneath means the installation will remain sound even if the grout develops hairline cracks over time from seasonal movement — the water has nowhere to go that damages the structure. Combined with the flat, properly prepared substrate, this floor is set up to perform correctly for the life of the home.
Planning a Bathroom Tile Project in Ottawa?
Call Joseph directly or submit a quote request — proper waterproofing and substrate prep are included in every bathroom tile job.