
Flooring Installation in Orléans
Proper prep, clean layout, tight execution — LVP, hardwood, tile, and heated floors installed by the owner in Orléans and across Ottawa's east end.
Get a Free QuoteWhen it comes to flooring installation in Orléans, the difference between a job that lasts and one that fails within a couple of years almost always comes down to what happens before the first plank or tile goes down. Orleans Flooring Co. is an owner-operated business based in Orléans, and Joseph Leger handles the entire installation process himself — from measuring the room and checking the subfloor to setting the final transition strip and cleaning up before he leaves.
Every flooring installation in Orléans begins with a thorough subfloor evaluation. Flatness is measured using a long straightedge across multiple planes of the room. Any area that deviates beyond the tolerance of the product being installed is corrected before work proceeds — high spots are ground down, low spots are filled with floor leveling compound, and loose or squeaking areas are re-fastened. This step is non-negotiable. It is also what most budget contractors skip, and it's exactly why floors fail.
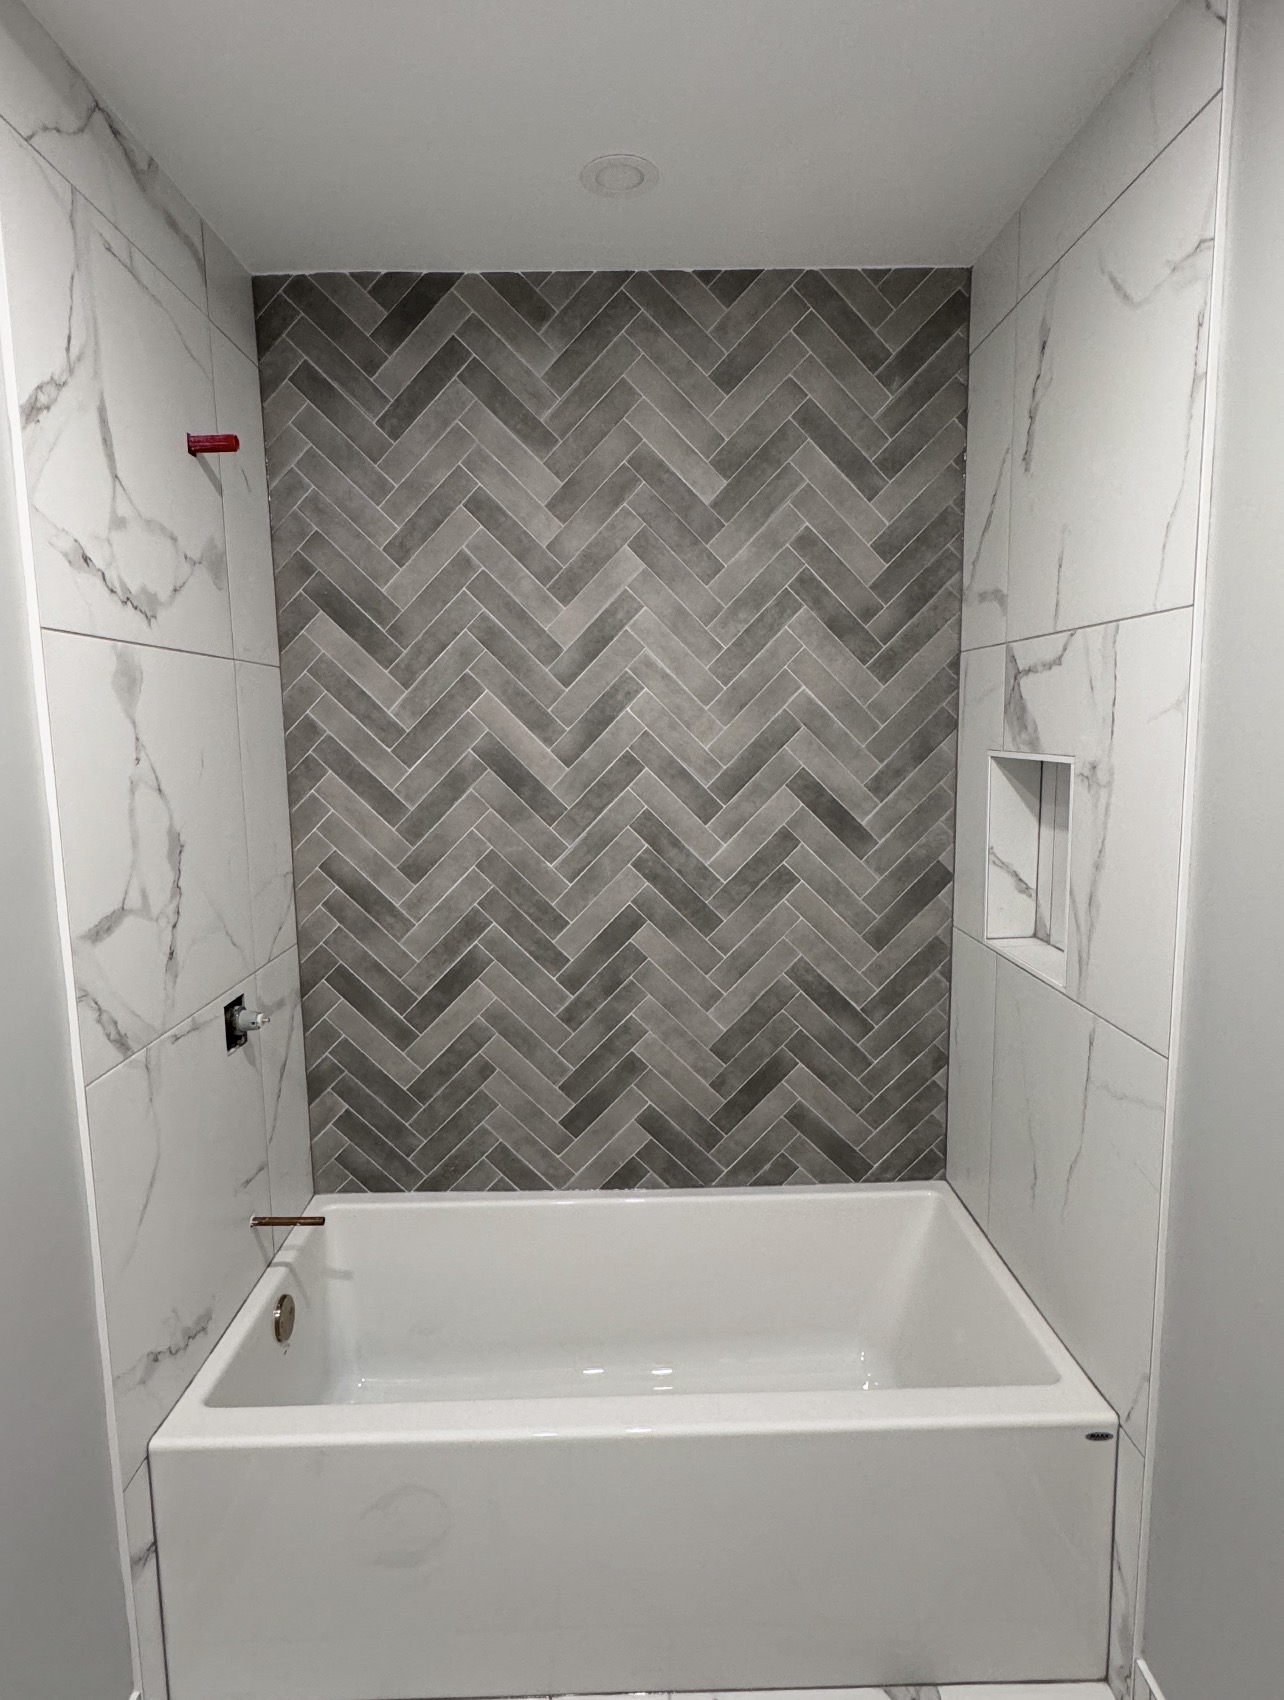
Orleans Flooring Co. installs luxury vinyl plank (LVP), engineered hardwood, solid hardwood, ceramic tile, porcelain tile, large-format tile, and electric in-floor radiant heating systems. If you're renovating a home in Orléans — whether it's in Avalon, Fallingbrook, Chapel Hill, Convent Glen, or anywhere else in the east end — call 613-981-8903 to book a free site visit and quote.
The Installation Process
Understanding what goes into a proper flooring installation helps homeowners recognize quality work and ask the right questions. Here's how Orleans Flooring Co. approaches every installation in Orléans.
Step 1: Site Visit and Measurement
The first step is always an on-site visit. Joseph measures the space accurately, checks the subfloor condition, identifies any areas of concern (soft spots, height changes at thresholds, moisture near exterior walls), and discusses product selection based on where the floor is going and how the room is used.
Step 2: Subfloor Preparation
The subfloor is checked for flatness with a long straightedge or laser level. High spots that exceed product tolerances are ground flush. Low areas are filled with Portland cement-based floor leveling compound. Squeaky or soft areas of the subfloor are re-fastened or reinforced. For tile installations, backer board is typically installed to add rigidity.
Step 3: Layout Planning
Layout is planned before a single piece of flooring is cut. The room's main sight line — usually from the primary entry point or the most prominent wall — determines the starting line. For plank flooring, the goal is to avoid narrow slivers at both walls, which means the starting row is calculated from the center of the room outward. For tile, a dry layout is done on the floor before any mortar is mixed.
Step 4: Installation
Installation follows manufacturer specifications and industry standards. Floating LVP and laminate products are installed with consistent expansion gaps at all perimeter walls — minimum 1/4 inch. Hardwood is installed with appropriate fastening methods and moisture-appropriate fastener schedules. Tile is set in the correct mortar with proper trowel coverage (minimum 80% on floors, 95% in wet areas) and consistently spaced grout joints.
Step 5: Transitions, Trim, and Cleanup
Transition strips are installed at all changes of flooring surface and at doorways. Baseboards are reinstalled or quarter-round is added where needed. The site is cleaned thoroughly, offcuts and waste are removed, and a final walkthrough is done with the homeowner before the job is considered complete.
What's Included
- Free on-site measurement and subfloor assessment
- Written, itemized quote before any work begins
- Subfloor flatness correction — grinding and floor leveling compound
- Backer board installation for tile projects
- Layout planning and dry-fit
- Full product installation with correct expansion gaps
- Transition strips and thresholds at all doorways
- Baseboard reinstallation or quarter-round addition
- Old flooring demo and disposal (when included in scope)
- Complete job site cleanup
- Final walkthrough with homeowner
Flatness, Layout, and Why They Matter
Two aspects of flooring installation are consistently underestimated by contractors cutting costs: subfloor flatness and layout planning. Both directly affect how the finished floor looks and performs over time.
Flatness: Luxury vinyl plank is particularly unforgiving of subfloor imperfections. Because LVP is rigid but thin, any bump or valley in the subfloor telegraphs directly to the surface — creating visible waves, stress on the locking joints, and eventually clicking or gapping. The NALFA standard for LVP is 3/16" variation over 10 feet; many manufacturers specify 1/8" over 6 feet. These tolerances require actual measurement and correction, not guesswork.
Layout: A floor that starts off-square — even slightly — compounds as it crosses the room. By the opposite wall, the final row can look dramatically out of square. Starting from a chalk line snapped parallel to the primary sight line, confirmed with a 3-4-5 triangle check, prevents this entirely. The same principle applies to tile: a layout that hasn't been planned from the center results in awkward partial tiles in the most visible corners of the room.
These details take time. They are why owner-operated work at Orleans Flooring Co. consistently produces results that hold up and look right.
Frequently Asked Questions
What does the flooring installation process look like from start to finish?
It starts with a free on-site visit for measurement and subfloor assessment, followed by a written quote. Once the project is scheduled, the job begins with subfloor prep — leveling, grinding, or backer board installation as needed. Then layout is planned and the flooring is installed, followed by transitions, trim, and cleanup. A final walkthrough happens before the job is signed off. Most residential projects are completed in one to three days depending on scope.
How long does flooring installation take in an Orléans home?
A typical main-floor LVP installation in an Orléans home (600–900 sq ft) takes one to two days. A bathroom tile installation, accounting for mortar and grout cure times, typically takes two to three days. Hardwood installation time varies by method — nail-down goes quicker, glue-down requires cure time. Larger multi-room projects are scheduled over multiple days and your timeline is confirmed upfront in the quote.
Do you move furniture as part of the installation?
Light furniture movement is generally accommodated on a project-by-project basis. For major pieces — large sectionals, heavy wardrobes, pianos, and appliances — it's typically more practical for homeowners to arrange to have furniture moved before the installation date, or have someone assist. This is discussed and confirmed during the quote visit so there are no surprises on installation day.
What happens if the subfloor isn't flat enough for my chosen flooring?
Subfloor correction is part of the standard process. If flatness deviations are found during the assessment, the cost of correction is included in the written quote so you know upfront what the full scope involves. In most cases, grinding and leveling compound addresses the issue. In rare cases where the structural issue is more significant — severe truss uplift, a damaged subfloor panel, or excessive deflection — the honest recommendation might be to address the structural cause first. That assessment happens at the quote stage, before any money changes hands.
Does Orleans Flooring Co. guarantee their work?
Yes. The installation work is guaranteed. If a defect attributable to the installation — a locking joint failure, a tile that cracks due to subfloor movement that should have been caught, a transition strip that comes loose — surfaces after the job is complete, it will be addressed. The honest clarification is that product warranties are separate from installation warranties and are governed by the manufacturer. Joseph will walk you through both at the time of the quote so you understand what's covered and by whom.
Book Your Flooring Installation in Orléans
Call Joseph directly for a free on-site quote. Straightforward pricing, proper prep, and a floor that lasts.