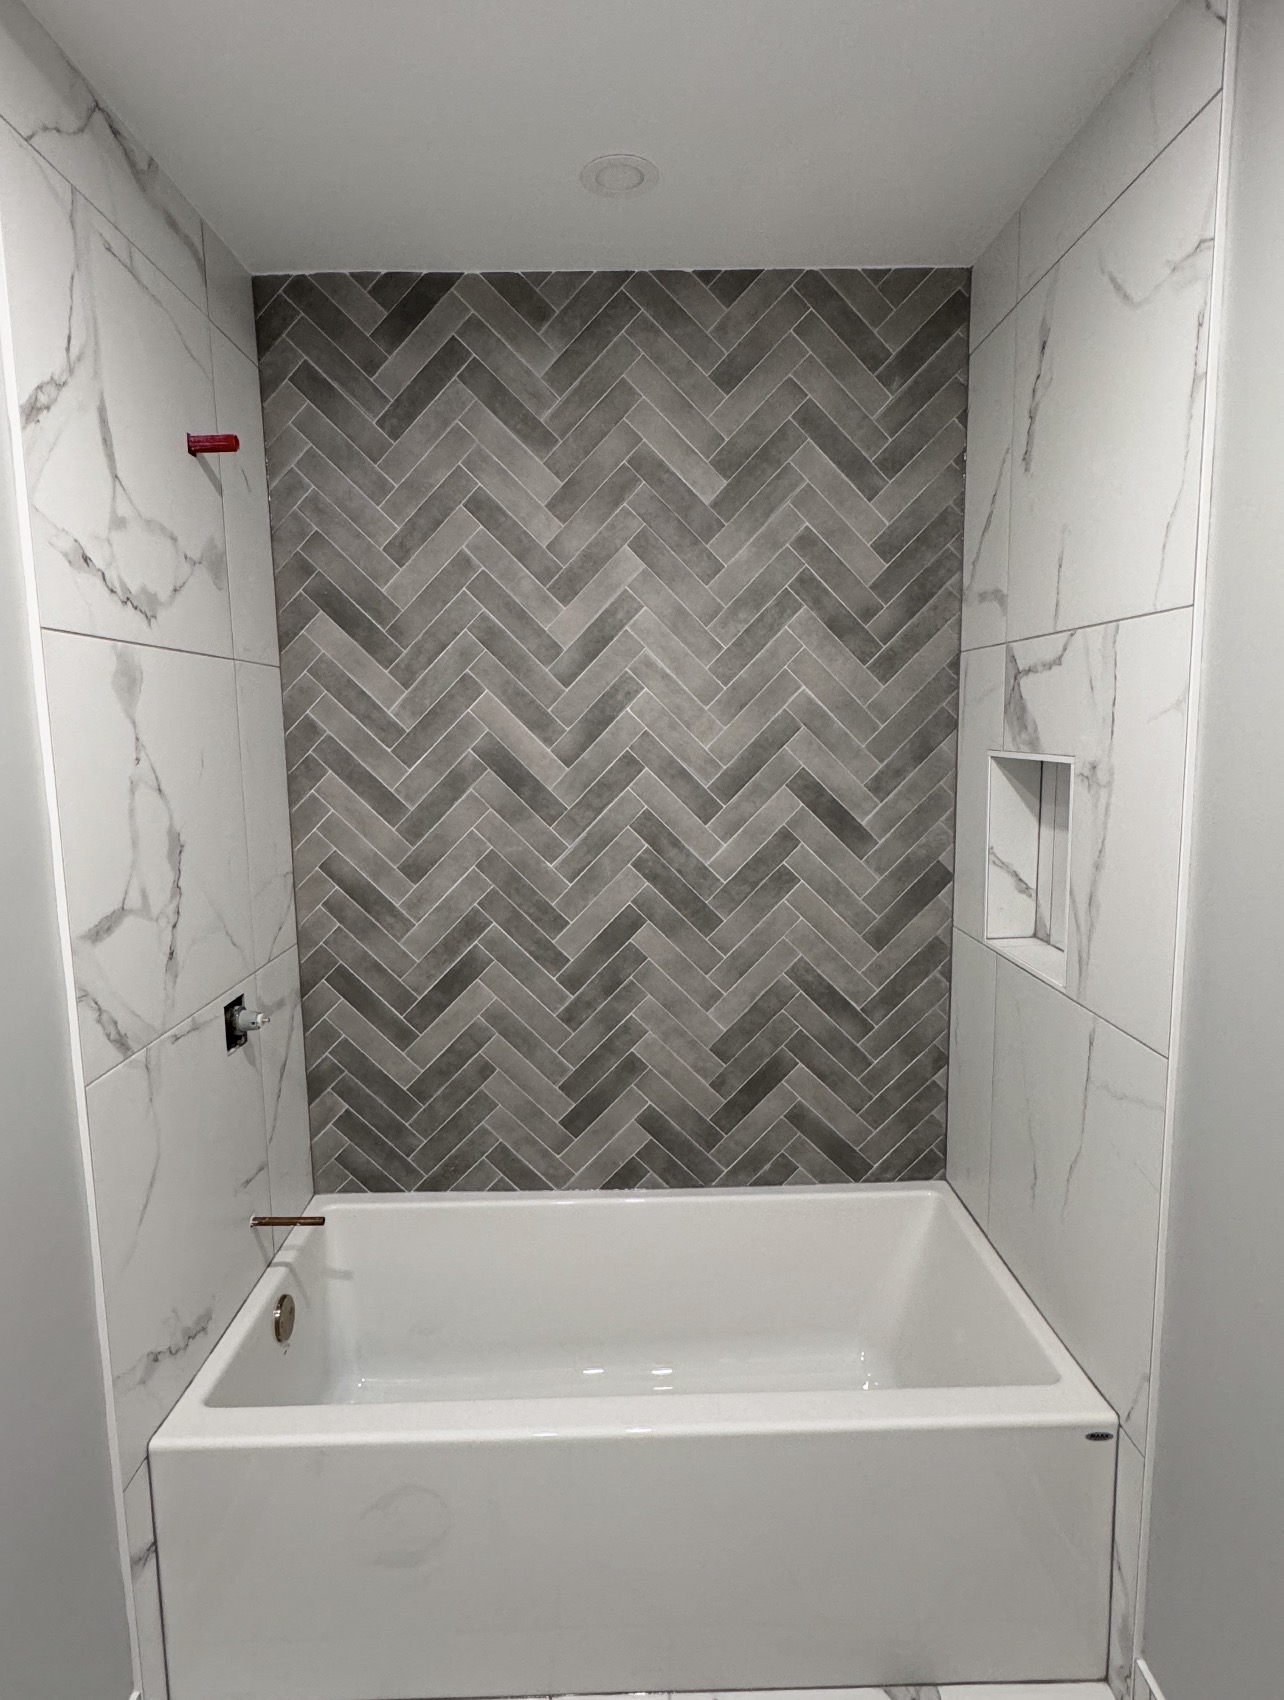
Bathroom floor tile prep is more involved than prep for any other area of the house — and for good reason. Bathrooms are wet environments where water routinely contacts the floor surface, humidity is elevated year-round, and the space is typically small enough that any movement in the substrate is amplified across the entire installation. Getting the prep right determines whether the tile lasts a decade or cracks in two years.
Why Bathroom Floors Are Different
Water is the primary concern. A bathroom floor in regular use gets water on it from showers, tubs, wet feet and cleaning. Even waterproof tile and grout allow some water migration through grout joints over time — which is why what's underneath the tile matters enormously. If water reaches an unsuitable substrate (standard drywall, OSB, or untreated plywood), it causes swelling, mold, and eventually structural deterioration. The tile above may look fine while the substrate below it is rotting.
Small room dimensions also mean that any substrate deflection or flatness issue affects the whole floor rather than a portion of it. A 4x6-foot bathroom floor has nowhere to hide a bow or a low corner. Every imperfection will be visible in the finished tile, especially if the tile pattern calls attention to alignment (like herringbone or a centered layout).
Substrate Options
Cement board (Durock, Hardiebacker, or equivalent) is the traditional choice for bathroom floors over wood framing. It's dimensionally stable, doesn't swell when wet, and provides an excellent bonding surface for tile mortar. Cement board is screwed and fastened to the subfloor with cement board screws on a 6-inch grid (8 inches at the field), and joints are taped with alkali-resistant mesh tape and thin-set before tiling. Cement board adds approximately 1/4" to 1/2" to the floor height depending on thickness — factor this into door clearance and transition planning.
Uncoupling membrane (Schluter Ditra is the most widely used product) is a thin polyethylene membrane with a grid of dovetail-shaped cavities that keys into the thin-set below and the tile mortar above. Ditra uncouples the tile layer from the subfloor movement below, significantly reducing the risk of grout cracking from substrate flex. It also functions as a vapour management layer. At 1/8" thick, it adds less height than cement board. Ditra is the preferred substrate for tile over in-floor radiant heat systems because it accommodates the thermal movement that heating introduces.
Direct bond to concrete is suitable where the concrete slab is sound, flat, and within moisture tolerances. A properly prepared concrete slab with appropriate moisture levels is an excellent tile substrate — no additional underlayment is required beyond priming and leveling as needed.
Waterproofing: Where and What
For standard bathroom floor tile installations (not a wet room or walk-in shower), the tile and grout themselves provide the primary water barrier at the surface. The substrate behind them should still be moisture-resistant (cement board or Ditra) but a full waterproofing membrane may not be required on the floor if water exposure is limited to splash.
Where a full waterproofing membrane is required — shower floors, wet rooms, or any area with regular standing water — options include Schluter Kerdi (sheet membrane applied in thin-set), RedGard (liquid-applied membrane that cures to a rubber-like sheet), and similar products. Liquid membranes like RedGard are brushed or rolled onto the substrate in multiple coats and are particularly useful for coating irregular surfaces and inside corners. Sheet membranes like Kerdi are set in thin-set with overlapping seams and are the system of choice when integrating with a Schluter drain system in a curbless shower.
Seams and inside corners are the most vulnerable points in any waterproofing system — they get fabric reinforcing strip embedded in the membrane material before the topcoat is applied.
Flatness in Small Spaces
The ANSI standard of 1/8" in 10 feet applies to bathroom floors just as it does to any tile installation. The difference is that a small bathroom is measured in shorter distances, so the tolerance in absolute terms is proportionally tighter — 1/8" in 10 feet translates to approximately 1/16" in 5 feet. A bathroom floor that rolls or has a soft spot in the centre will crack grout noticeably because there's no large flat expanse of tile to absorb the visual effect of misaligned edges.
Flatness issues in bathroom subfloors often come from previous water damage (soft spots in the plywood), high fastener heads from the previous floor installation, or a subfloor that was never particularly flat. All of it gets corrected before cement board or membrane goes down.
Drain Height: Plan Before You Start
The finished tile surface must align with the drain flange. This seems obvious in principle, but in practice it requires calculating the exact finished height before a single screw goes into the cement board. The math: subfloor height + cement board thickness + thin-set bed thickness + tile thickness = finished floor height. That finished height must match the drain flange that's already set in the floor.
If the numbers don't work, the drain needs to be adjusted before the substrate goes down — not after. Adjustable drain bodies (like the Schluter Kerdi-Drain or similar products) make this easier, but the planning still has to happen upfront. Getting this wrong means either a tile edge that sits proud of the drain or a drain that sits proud of the tile — both are problems that cannot be fixed without starting over.
Layout: Center It Before You Cut It
In a small bathroom, tile layout determines whether the finished floor looks intentional or accidental. The goal is to have full tiles or nearly-full tiles in the most visible area (typically the centre of the room or the area visible from the doorway), with cut tiles pushed to walls and behind fixtures where they're less visible.
Dry-lay the tile across the floor before setting anything. Find the center point of the room, snap chalk lines on both axes, and adjust the layout until the cuts at opposite walls are equal and as large as possible. A 2" sliver of tile at one wall while the opposite wall has a full tile looks poor and is avoidable with five minutes of layout planning.
Grout joint width for bathroom floor tile is typically 1/16" to 1/8" for rectified tile (cut to precise dimensions by machine) and 3/16" for non-rectified tile (natural edge variation from firing). Narrower joints mean more tile surface is visible and the floor reads more cleanly; wider joints are more forgiving of layout imperfections but require more grout maintenance over time.
For bathroom tile installation services in Orléans, see the bathroom floor tile service page. For tile work across the Ottawa area, visit the tile contractor services page.