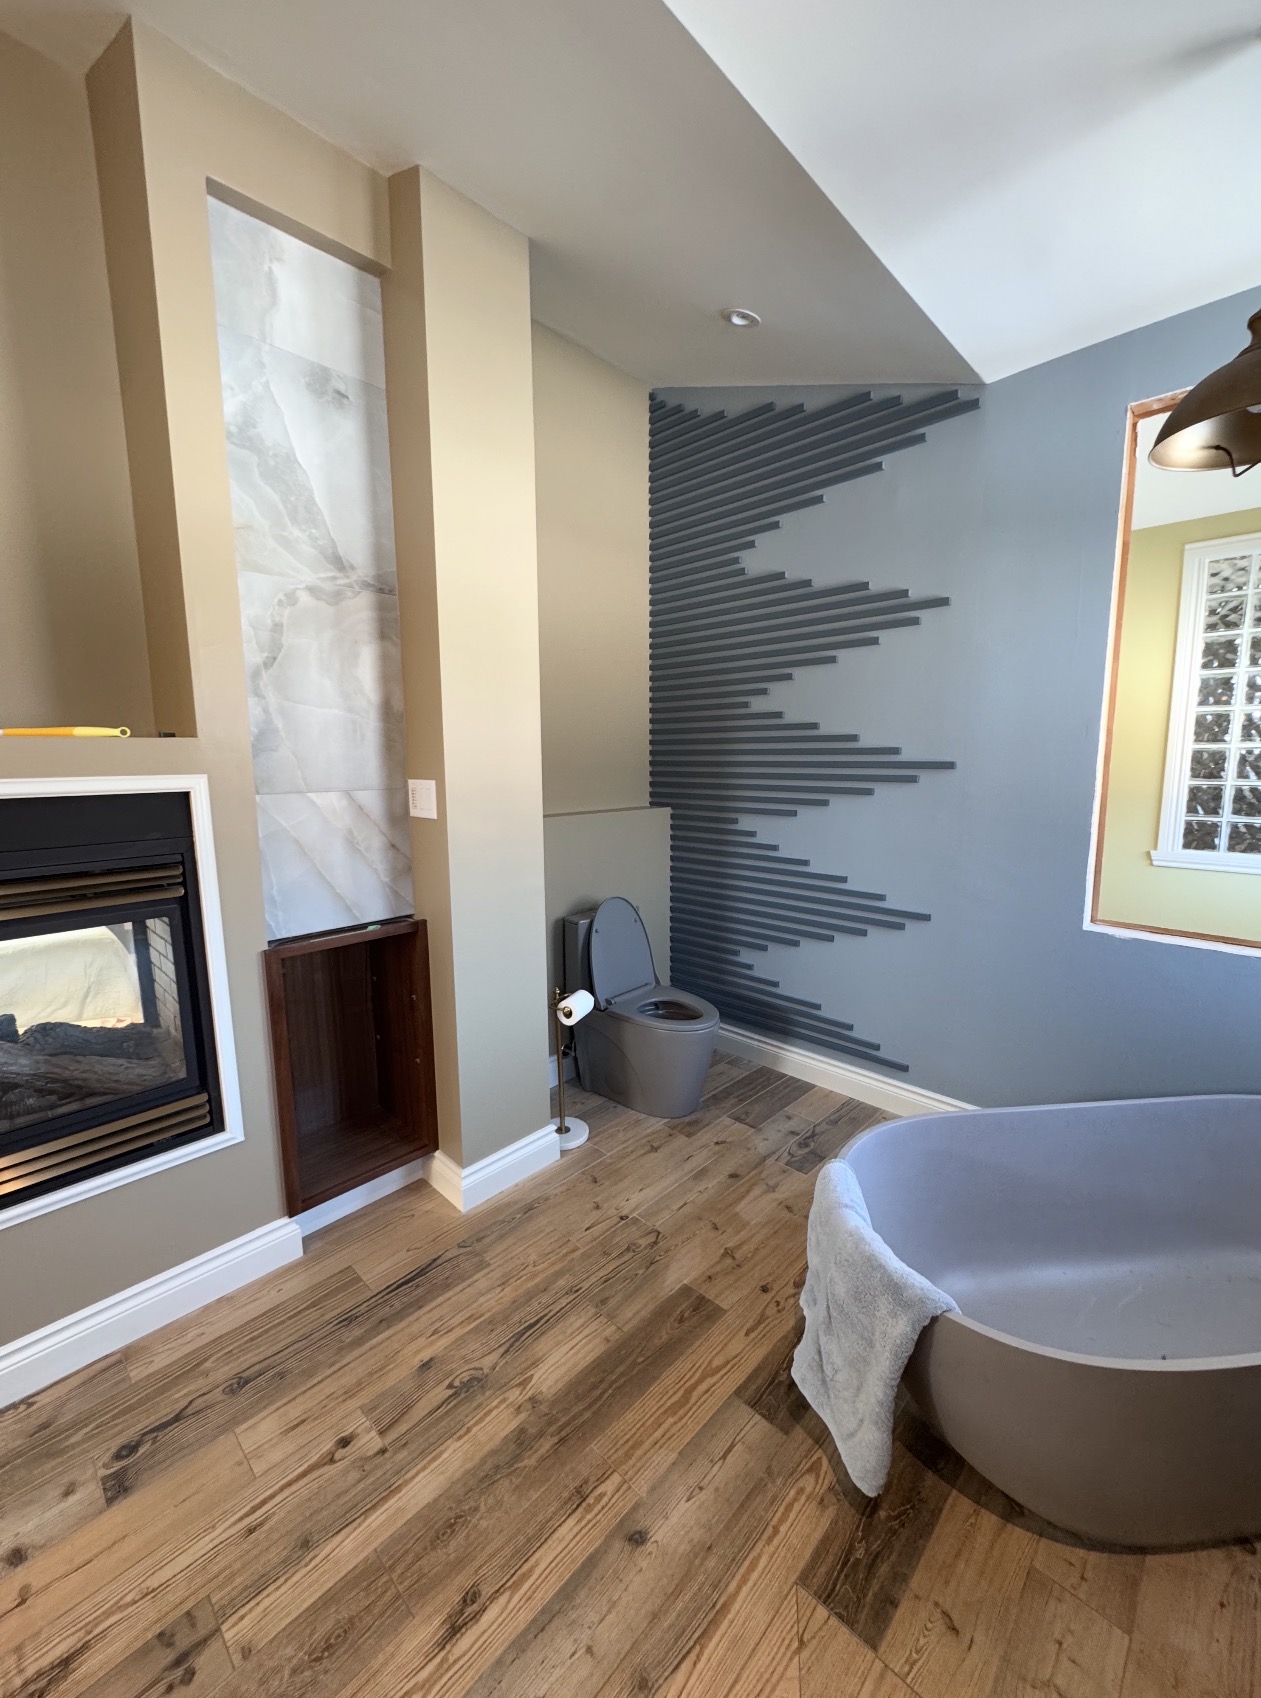
Large format tile has become the default choice for contemporary residential and commercial flooring in Orléans and Ottawa — 24x24", 24x48", and even 36x36" porcelain slabs are now standard in master bathrooms, main floor living areas and kitchens. The look is clean, modern, and when done right, virtually seamless. But large format tile is among the most technically demanding flooring materials to install correctly. The margin for error on prep work is smaller, the material is less forgiving, and the consequences of getting it wrong are more visible and more expensive to fix.
What Qualifies as Large Format Tile
ANSI (American National Standards Institute) defines large format tile as any tile with at least one edge measuring 15 inches or longer. In practice, the term is commonly used for tiles 18x18" and up, with the most challenging installations being 24x48" and larger slabs.
Size matters because it changes how the tile interacts with the substrate. A 4x4" mosaic tile can bridge over minor substrate irregularities — the mortar bed fills in beneath it. A 24x48" porcelain slab cannot. Any high spot in the substrate becomes a fulcrum. Step on the tile and it flexes across the fulcrum, cracking the tile bond at the unsupported edges and eventually cracking the tile itself. With large format tile, there is no substitute for a truly flat substrate.
Flatness Requirements: Tighter in Practice
The ANSI A108.02 flatness standard — 1/8" variation in 10 feet — technically applies to all tile installations regardless of tile size. But with large format tile, any deviation from that tolerance will be visible on the finished surface. Where 1/8" of variation across a 10-foot span might be undetectable in a field of 4x4" subway tile, the same variation shows clearly as lippage across a run of 24x48" porcelain.
This is why experienced tile installers tighten the working standard for large format tile installations: the floor has to be as close to perfectly flat as the substrate will allow, well within the 1/8" ANSI tolerance, before any tile is set. The time spent on prep is not overhead — it's the work that makes the installation possible.
Measuring for large format tile installations requires systematic use of a long straightedge (10 feet) in multiple directions across the entire installation area. A 4-foot level also gets used to check shorter spans and identify localized high spots. Every deviation gets marked and addressed before mortar goes down.
Back-Buttering: 100% Coverage Is Not Optional
Standard tile installation requires mortar contact of at least 80% of the tile back surface (ANSI A108.02), increasing to 95% in wet areas. For large format tile, 100% coverage is the practical standard — and achieving it requires back-buttering every tile.
Back-buttering means applying a thin skim coat of mortar directly onto the back of the tile before pressing it into the mortar bed on the floor. The technique works as follows: spread mortar on the substrate with a notched trowel (direction matters — lines should run parallel to the long edge of the tile to allow air to escape as the tile is set), then spread a thin additional layer directly onto the tile back. When the tile is set into place, the two mortar surfaces mate together and eliminate air pockets that would otherwise remain in the voids between trowel ridges.
Hollow spots under large format tile are not a minor concern. A hollow spot under the edge of a 24x48" tile concentrates foot traffic stress at exactly the point with no support. The tile cracks or, more commonly, the bond fails — and at $15-30/sqft for the material alone, that's an expensive failure mode.
Medium-Bed Mortar: The Right Product for Large Format
Standard polymer-modified thin-set mortar is designed for tile up to approximately 15" on any side. Above that, the weight and surface area of the tile require a mortar that can handle the load without slumping or shifting during the working time before it cures.
Medium-bed mortar (sometimes called large-format mortar or thick-bed mortar) is formulated with larger aggregate particles and a higher polymer content that prevents it from shrinking and slumping under the weight of large tiles. It can be applied in a thicker bed — up to 3/4" in some formulations — which is often needed to achieve flatness across a slightly irregular substrate. Standard thin-set applied too thick will crack as it cures; medium-bed mortar is engineered to perform in that thickness range.
The working time on medium-bed mortar is similar to standard thin-set — 30 to 45 minutes in most conditions — so the installation pace needs to be planned to allow complete setting of each tile before the mortar begins to skin over. In warm rooms, working in smaller sections and keeping open time shorter is important.
Lippage Clips: How the Pros Keep It Flat
Even on a properly prepared, genuinely flat substrate, getting lippage under control across a large format tile installation requires a mechanical assist during setting. Lippage clip systems are the standard solution.
The system works in two parts: a flat T-shaped clip slides under the edge of a tile before the adjacent tile is set, with the clip's stem projecting up through the grout joint space. A wedge is then driven down over the stem to press both tiles to the same plane. After the mortar has cured (typically 24 hours), the stem snaps off at the floor line and the clip remains under the tile — permanent and invisible. The wedges are reusable.
Raimondi is one of the most widely used clip system brands; similar systems are available under various trade names. The clips come in different thicknesses to match the grout joint width — typically 1/16" to 1/8" for rectified large format tile. Using the correct clip size is important: too thin and the clip doesn't pull the tiles flush; too thick and it overrides the grout joint width.
Layout Planning: Get It Right Before You Cut
Large format tile leaves almost no room for error in layout. A tile that's 1/8" out of square with the room layout is visibly wrong in a way that 4x4" tile is not. And cut tiles at walls are very visible with large format — a 2-inch cut piece is especially awkward when the adjacent tile is 24 inches wide.
Before any mortar is mixed: snap chalk lines to establish the grid, dry-lay tile across the floor, and check the cuts at all walls. Adjust the starting point until the cuts at opposite walls are balanced and as large as possible. In a room that isn't perfectly square (which is every room), this also means deciding which wall to run parallel to and accepting that cuts on other walls will be slightly angled — plan for that rather than discovering it mid-installation.
The primary view axis — the line of sight from the main entry point into the space — should get the most complete tiles. Cuts belong behind toe-kicks, under appliances and in corners that aren't visible from the doorway.
For technical background on flatness standards that apply to all tile including large format, see the guide on tile floor flatness requirements. For large format tile installation services in Orléans and Ottawa, visit the tile contractor services page for Orléans or the tile contractor page for Ottawa.