
Commercial Tile Repair — Ottawa
Hollow and cracked ceramic tile in a commercial entrance — diagnosed, removed, and reinstalled properly with matching grout and no lippage.
Project Overview
- Location
- Ottawa, Ontario
- Project Type
- Commercial Tile Repair
- Flooring Material
- Ceramic floor tile
- Scope
- Diagnosis, removal of failed tile, substrate inspection and preparation, tile reinstallation, epoxy grout match
- Installer
- Joseph Leger, Orleans Flooring Co.
The Problem
A commercial client in Ottawa contacted Orleans Flooring Co. about tile in their building's main entrance that was cracking and becoming a safety concern. The entrance sees heavy foot traffic throughout the day — employees, clients, and delivery personnel — and the cracked tile edges presented a tripping hazard and a liability issue that needed to be addressed promptly.
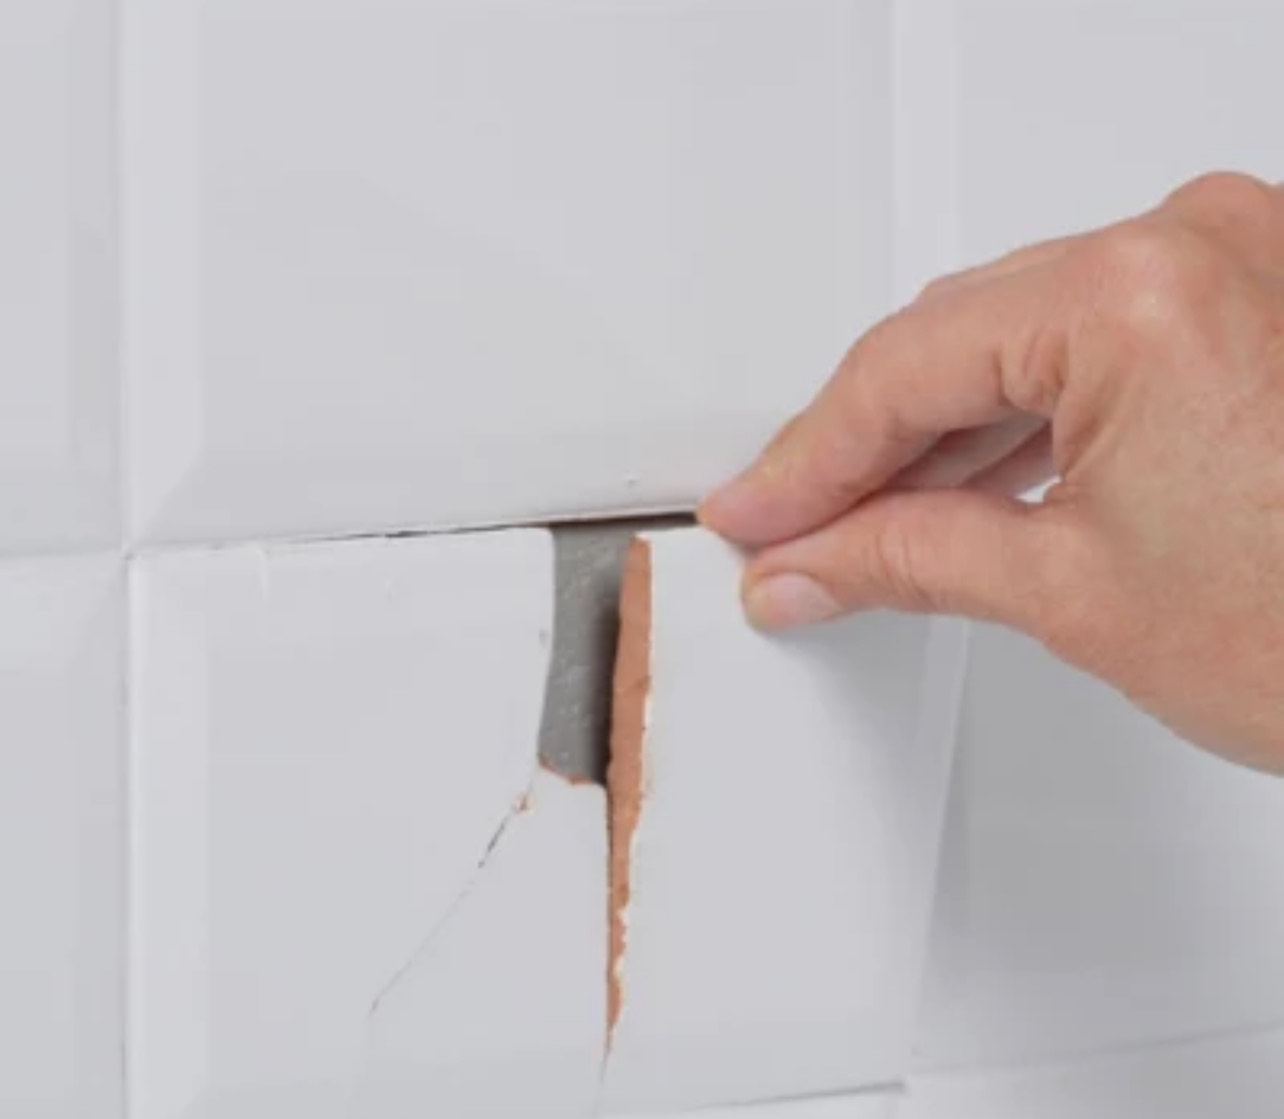
On-site assessment revealed that the problem was more extensive than the visible cracks suggested. Several tiles that appeared intact were hollow when tested — they had lost their bond to the substrate below and were flexing slightly underfoot. Lippage was also present at a number of tile joints, indicating the original installation was done without adequate levelling and without back-buttering of the larger format tiles. The visible cracking was the result of tiles that had already lost bond and were now flexing under point loads — foot traffic, rolling carts — until the ceramic face gave way.
The failed bond was not caused by poor quality tile or adhesive — it was caused by inadequate mortar coverage on the original installation, where thinset was applied only with a notched trowel and the tiles were not back-buttered. Large format ceramic tile requires back-buttering to achieve the full contact needed for a durable bond. Without it, the tile rests on the thinset ridges rather than embedding fully into the mortar bed, leaving voids beneath the tile surface that allow the tile to flex and eventually fail.
Technical Challenge
Three technical challenges defined this repair job.
Identifying All Affected Tiles
The tap test was used to systematically survey the entire affected entrance area — every tile was struck and evaluated for the hollow resonance that indicates a failed bond. This identified not only the visibly cracked tiles but also the hollow tiles that had not yet cracked. Proceeding with repair on only the cracked tiles would have left a floor full of failures-in-waiting. The full map of affected tiles was documented and reviewed with the client before demolition began, so the scope of work was fully understood on both sides before any tile was removed.
Avoiding Damage to Adjacent Good Tile During Removal
Removing failed tile in a floor that contains adjacent good tile is a precise process. A grout saw was used to cut the grout joints around each failed tile before demolition, isolating each tile before chiselling it out. This prevents the impact from transmitting laterally to neighbouring tiles and cracking tiles that were otherwise in good condition. A careful removal approach took longer than a blunt-force approach would have, but it preserved the surrounding floor and avoided adding to the repair scope.
Grout Colour Matching
The existing grout was several years old and had discoloured with use. Matching new grout to aged, stained grout requires selecting a colour that accounts for how the existing grout looks now — not its original colour at installation. Joseph brought grout samples to site and compared them against cleaned sections of existing grout to arrive at the closest available match. The grout specified for this repair was epoxy grout rather than cementitious, given the commercial use of the space — epoxy is more resistant to the wear, chemical cleaning, and moisture exposure that a commercial entrance experiences.
Preparation
Once the affected tiles were removed, the substrate was thoroughly inspected. The ceramic tiles had been installed directly over the concrete slab without a membrane, which is acceptable practice when the slab is structurally sound and within flatness tolerances. The slab in this case was in good condition — no cracks, no significant high or low spots, and moisture readings were within acceptable range for ceramic tile installation with a standard large format tile adhesive.
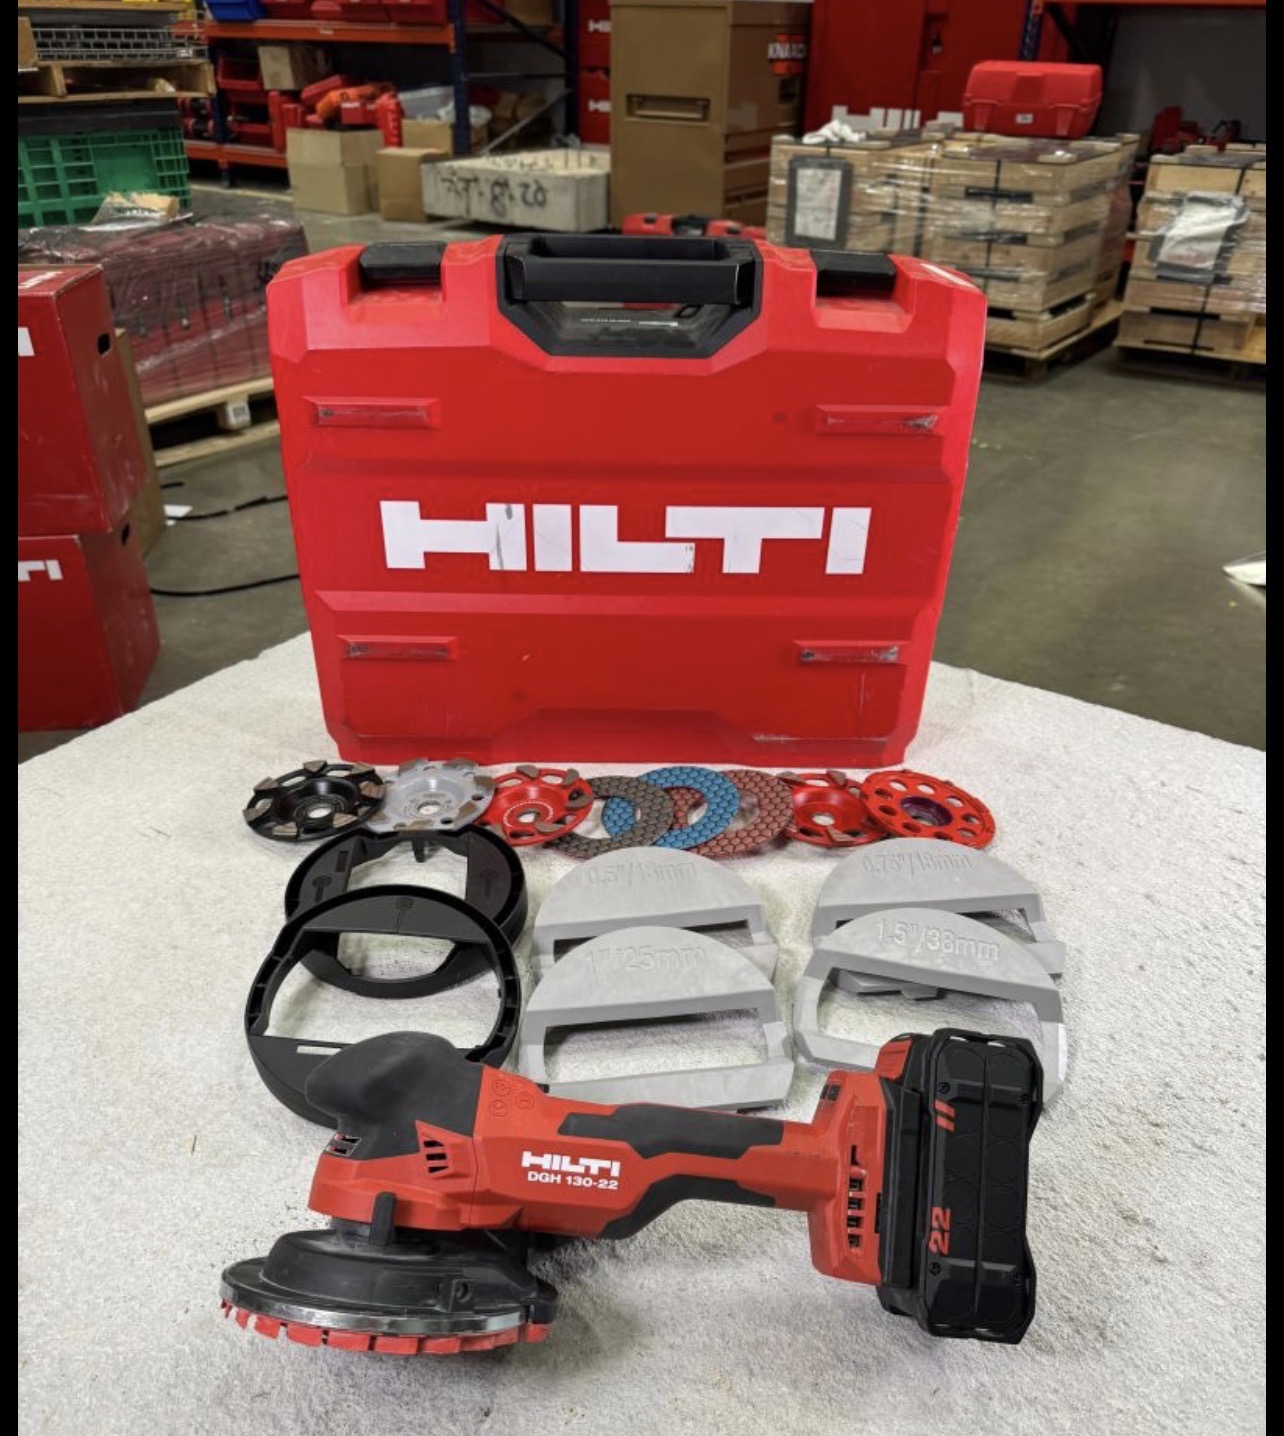
Residual thinset from the original installation was ground flat with a Hilti DGH130 angle grinder to ensure a clean, flat bonding surface. Ridges and high spots left by the old adhesive were removed completely — installing over uneven residual thinset would have created lippage in the new tile and left voids that would cause the same bonding problem as the original installation. The substrate was vacuumed clean and checked for flatness before any new adhesive was applied.
Materials
- Replacement tile — porcelain floor tile at PEI 4 rating, sized and selected to match the existing tile as closely as possible
- Large format tile adhesive — a polymer-modified thinset rated for large format tile, applied to the substrate with a notched trowel and back-buttered onto each tile
- Lippage clips and wedges — used during installation to ensure consistent tile height and eliminate lippage at joints
- Epoxy grout — two-part epoxy grout selected for the commercial application, colour-matched to the existing aged grout as closely as available product allowed
Installation
Each replacement tile was back-buttered with polymer-modified thinset immediately before placement — this is the step that was missing from the original installation and the primary cause of the bond failures. Back-buttering fills the surface texture of the tile's back face with adhesive and ensures full contact with the thinset bed on the substrate. The notched trowel ridges on the substrate are then collapsed into the back-buttered tile under firm pressure, achieving the full mortar coverage that large format tile requires for a durable bond.
Lippage clips were placed at all four corners of each tile during installation and wedges were driven to bring each tile to the same plane as its neighbours. Consistent joint width was maintained using tile spacers. Once the mortar had cured sufficiently for foot traffic — confirmed after a full curing period, not rushed — the lippage clips were snapped off flush and the joints were grouted.
Epoxy grout was mixed and applied per the manufacturer's specifications. Epoxy grout has a shorter working time than cementitious grout and requires thorough cleaning of haze from the tile surface before it cures — this was managed by working in small sections and maintaining cleanup discipline throughout the grouting process. The finished grout joints were consistent in width, full to the tile surface, and as close to the existing grout colour as the available product allowed.
The repaired area was kept out of service for 24 hours after grouting to allow the epoxy to fully cure before the entrance was reopened to normal commercial foot traffic.
Finished Result
The completed repair restored the commercial entrance floor to a safe, functional condition. The cracked and hollow tiles were replaced with properly bonded tile that will hold under the point loads and foot traffic of a commercial entrance. There is no lippage at the repaired tile joints — the floor is flat and consistent to the touch. Grout colour is a close match to the surrounding aged grout, with the repaired section visible on close inspection but not disruptive to the overall floor appearance.
The client was able to reopen the entrance the morning after the evening repair session — the scheduling was designed to avoid any business-hours closure of the main entry point. The client also received documentation of the root cause of the original failure — inadequate mortar coverage without back-buttering — for their records, in the event that similar failures appear elsewhere in the building in the future.
Request a Quote for Your Ottawa Tile Repair
If you have cracked, hollow or failing tile in a commercial space in Ottawa or the surrounding area, call Joseph directly at 613-981-8903 or send a message below. He will assess the space, identify what caused the failure, and provide a written quote with a schedule built around your business operations.
Request a Free Assessment