Bathroom Floor Tile Specialist in Orléans & East Ottawa
The bathroom floor is one of the most technically demanding tile installations in a home. It's a wet area. It's typically a small, irregular space. It has a toilet flange, a vanity, a bathtub or shower curb, and sometimes a heated floor mat underneath. Every one of those elements affects how the tile needs to be laid out and installed. Orleans Flooring Co. installs bathroom floor tile in Orléans and across east Ottawa — and we approach every bathroom floor with the same attention to waterproofing, layout, and long-term performance.
Too many bathroom tile failures come from shortcuts taken at the prep stage: a wood subfloor that wasn't checked for deflection, a waterproof membrane that was omitted, mortar coverage that fell short of the 95% required for wet areas, or grout joints packed too tightly at the walls with no room for movement. These shortcuts are invisible at first — and then they show up as cracked grout, hollow tiles, and water damage in the subfloor, sometimes years later.
We do bathroom floor tile in Orléans, Blackburn Hamlet, Beacon Hill, Avalon, Fallingbrook, Chapel Hill and the surrounding east Ottawa communities. Whether you want a classic 12×12 ceramic in a main bathroom, mosaic penny tile in an ensuite, a large-format 18×36 porcelain in a primary bathroom, or a herringbone pattern that makes a small space feel designed rather than functional, we can execute it properly — flat substrate, correct waterproofing, right mortar coverage, and the right grout for the application.
Technical Standards for Bathroom Floor Tile
Waterproofing: A bathroom floor is a wet area. Even if there's no direct shower drain on the floor, water gets in — from the base of the shower, from the toilet seal, from water tracked across after a bath. The substrate beneath the tile must be protected. We install a waterproof membrane (sheet membrane or liquid-applied) over the substrate before tile goes down in any bathroom floor application. For shower floors with a linear drain or traditional centre drain, the waterproofing is even more critical and extends up the walls.
Mortar coverage in wet areas: ANSI A108.02 requires 95% mortar contact between tile and substrate in wet areas — compared to 80% in dry areas. We achieve this by using a larger notch trowel than standard, back-buttering each tile, and combing the mortar in a single direction before pressing the tile. We periodically lift a freshly set tile and inspect the back to confirm coverage.
Tile layout in small spaces: Most bathroom floors are small — under 80 square feet — but the layout decisions in a small space are more visible than in a large one. A poorly planned layout leaves slivers of tile at the door, awkward cuts at the toilet, or a pattern that doesn't centre on the focal wall. We plan the layout dry before any thinset goes down, accounting for the toilet flange, vanity position, door swing, and the direction the tile is viewed from upon entering.
Schluter strips and transitions: Where the bathroom floor meets a hallway or another room, the transition must accommodate the height difference between the tile and the adjacent flooring. We install Schluter Reno-T or Schiene profiles in the appropriate finish (brushed nickel, matte black, oil-rubbed bronze) to create a clean, durable transition that matches your fixtures.
Grout selection: Bathroom floors benefit from a grout joint and grout type appropriate to the tile format and how the space is used. Unsanded grout for joints under 1/8"; sanded grout for joints 1/8" and wider. Epoxy grout is an option in wet areas for its stain and water resistance, though it's more difficult to work with and costs more. We discuss grout options with you before the job starts — colour matters as much as performance.
Tile Options for Bathroom Floors
We install all standard bathroom floor tile formats and patterns:
- Mosaic tile — 1×1, 2×2, penny round — classic in wet areas, provides more grout lines for grip, and bends around curved shower floors
- Standard format ceramic and porcelain — 12×12, 12×24, 18×18 — versatile, widely available, easy to maintain
- Large-format tile — 18×36, 24×24, 24×48 — modern, minimal grout lines, requires a flatter substrate
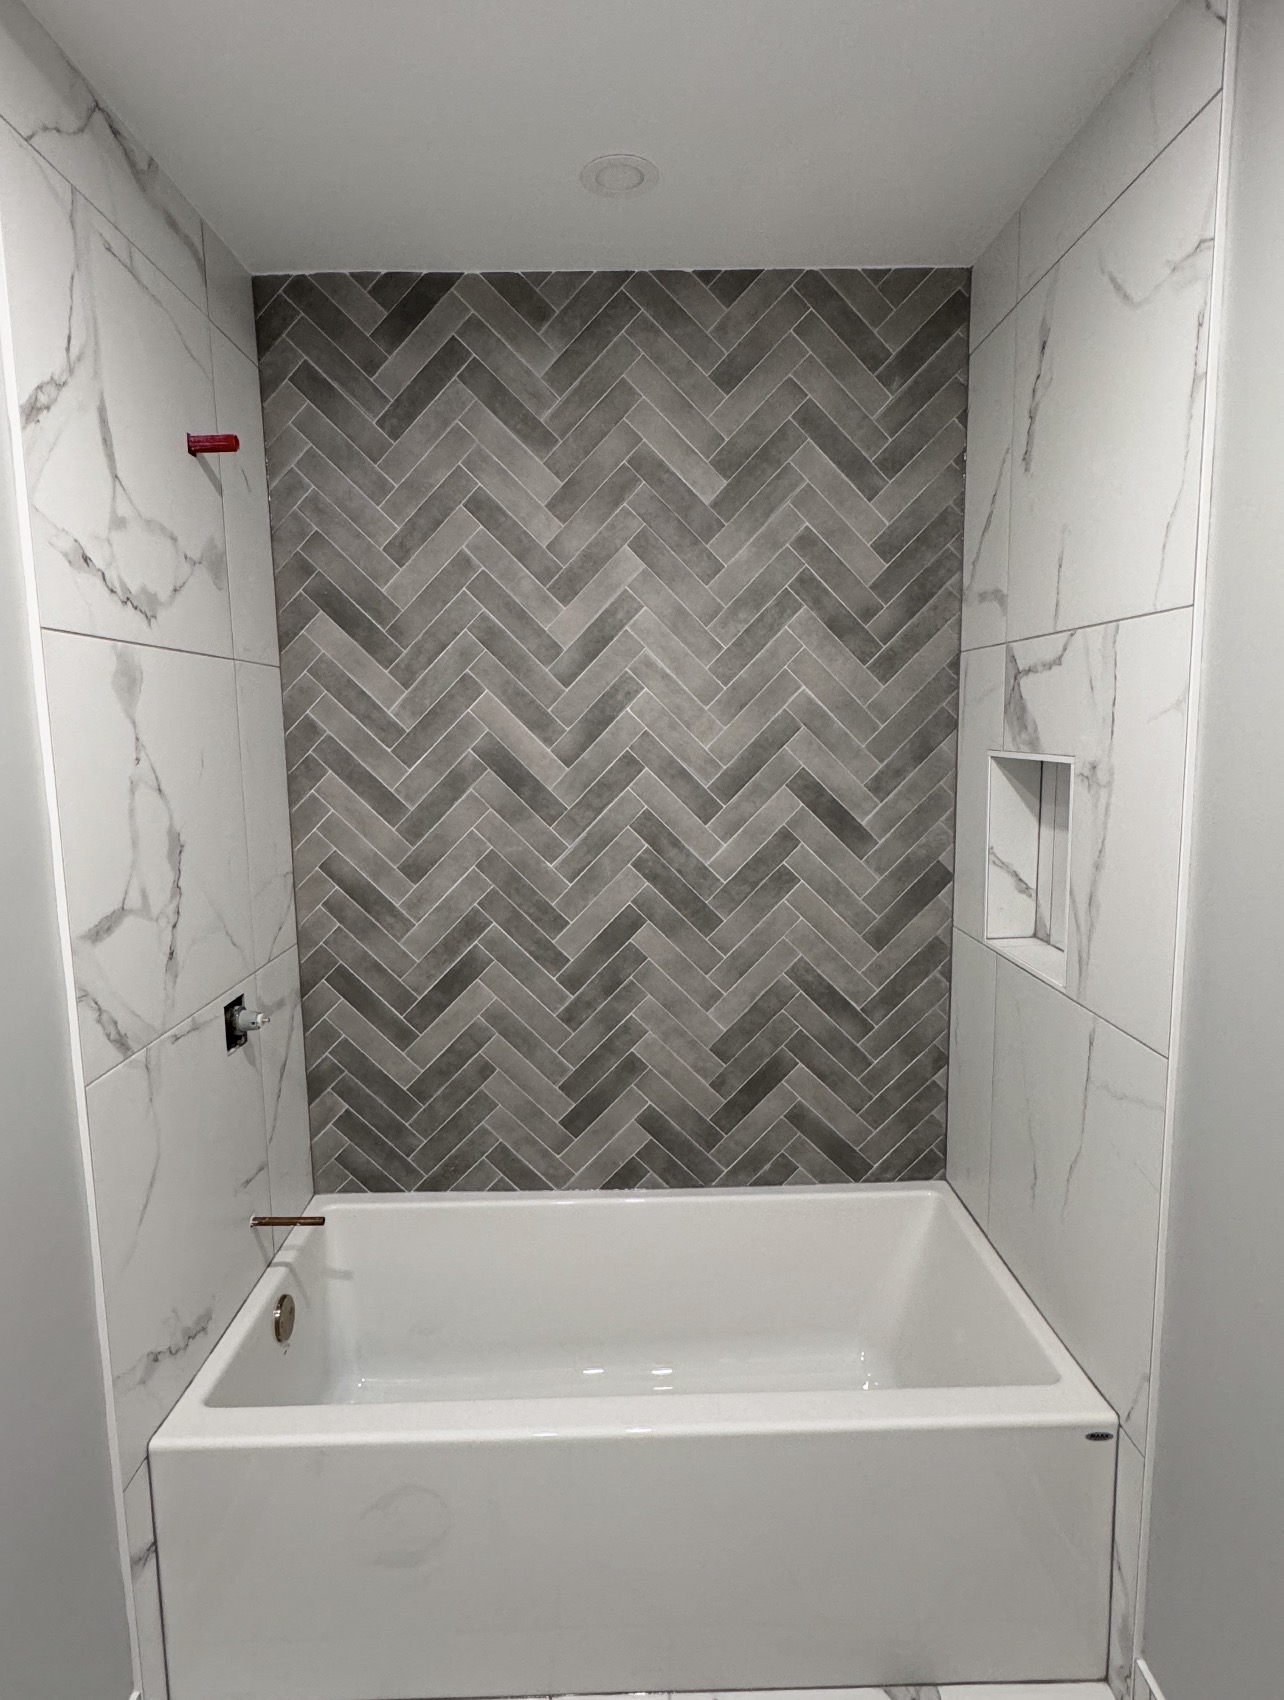
- Herringbone pattern — 2×8, 3×12, 4×16 planks laid in a V-pattern — adds movement and visual interest to small spaces
- Natural stone — marble, travertine, slate — requires appropriate mortar, grout, and sealing for wet areas
What's Included
- Substrate inspection and deflection check
- Waterproof membrane installation (sheet or liquid-applied)
- Subfloor patching and flatness correction
- Tile layout planning including toilet flange, vanity, and door
- Tile setting with polymer-modified mortar at 95% coverage
- Back-buttering all tile in wet area
- Grout installation (colour of your choice)
- Grout sealing
- Schluter transition strip at doorway
- Perimeter caulk (colour-matched) at wall-floor junction
- Cleanup and walkthrough
Our Preparation Process
Step 1 — Substrate assessment: We check the subfloor for deflection (bounce), flatness, moisture, and existing damage. A bouncy bathroom floor is a red flag — tile over a deflecting subfloor cracks grout joints and eventually hollows out. We address the structural issue first.
Step 2 — Waterproofing: We apply the waterproof membrane over the entire floor substrate and tape seams. In shower floors, the membrane extends up the curb and 6" up the walls. We allow the membrane to cure before setting tile.
Step 3 — Layout planning: We dry-lay tile on the floor, snapping reference lines, checking that the layout centres correctly on the doorway and major fixtures, and confirming that cut tiles at the perimeter are acceptable widths.
Step 4 — Setting: Tile is set in polymer-modified thinset with a notch trowel sized for the tile format. All tiles are back-buttered for full wet-area coverage. A leveling system is used on large-format tile and on any format where lippage is a concern.
Step 5 — Grouting and finishing: After the thinset cures (typically 24 hours minimum), grout is packed into joints, floated, sponge-cleaned, and sealed. Perimeter edges are caulked with colour-matched silicone. Schluter transition strips are installed at doorways. The toilet flange is reset to the new tile height if required.
Frequently Asked Questions
What is the best tile for a bathroom floor?
For bathroom floors, porcelain is the most durable and moisture-resistant choice. It's harder than ceramic, absorbs less water, and holds up well under foot traffic. Within porcelain, look for a PEI rating of 3 or higher for floors. If slip resistance is a concern (especially in a wet area), choose a tile with a COF (coefficient of friction) of at least 0.42 for wet conditions — mosaic formats naturally have more grout lines, which improves grip. We help you navigate tile selection during the quote process.
Is tile slippery in a bathroom? What about slip resistance?
Smooth, polished tile can be slippery when wet. Matte-finish and textured tile surfaces have significantly better slip resistance. Mosaic tile formats (penny round, 2×2, 1×1) provide more grout lines per square foot, which act as grip points. For shower floors, mosaic tile is the most practical choice. For bathroom floors adjacent to a shower, a matte-finish porcelain in a 12×12 or larger format gives a good combination of looks and grip. We'll advise you on specific tiles when we quote the job.
Can you install a heated floor under bathroom tile?
Yes. Electric radiant heat mats are installed between the waterproof membrane and the tile mortar bed. The heat mat is embedded in self-leveling compound or thinset, tested with a resistance meter before tile goes down, and retested after — to confirm the mat wasn't damaged during installation. A floor thermostat with a floor sensor is wired at the wall. The tile is then installed over the cured heat assembly.
How long does bathroom floor tile installation take?
A typical bathroom floor (40–80 sq ft) takes two days. Day one covers substrate prep, waterproofing, and tile setting. Day two (after thinset cures) is grouting, sealing, transitions, and cleanup. Larger or more complex bathrooms — herringbone pattern, heated floor, natural stone — may take three days. We give you a clear schedule before we start.
What grout colour should I choose for a bathroom floor?
Grout colour is a design decision that affects the overall look significantly. Light grout shows off the tile colour and pattern but shows dirt more. Dark grout hides grime better but can highlight uneven joints if the tile setting wasn't precise. Mid-tone greys are popular because they balance both concerns. For bathroom floors, we also recommend a penetrating grout sealer regardless of colour — it dramatically reduces staining and makes cleaning easier.